Oh my word… I’m so glad we finally got around to trying this! I pinned the idea over a year ago and I knew it was going to be fun, but I had no idea just how much Miss G would love it and how much play it would bring about (just wait until we get to those pictures!)

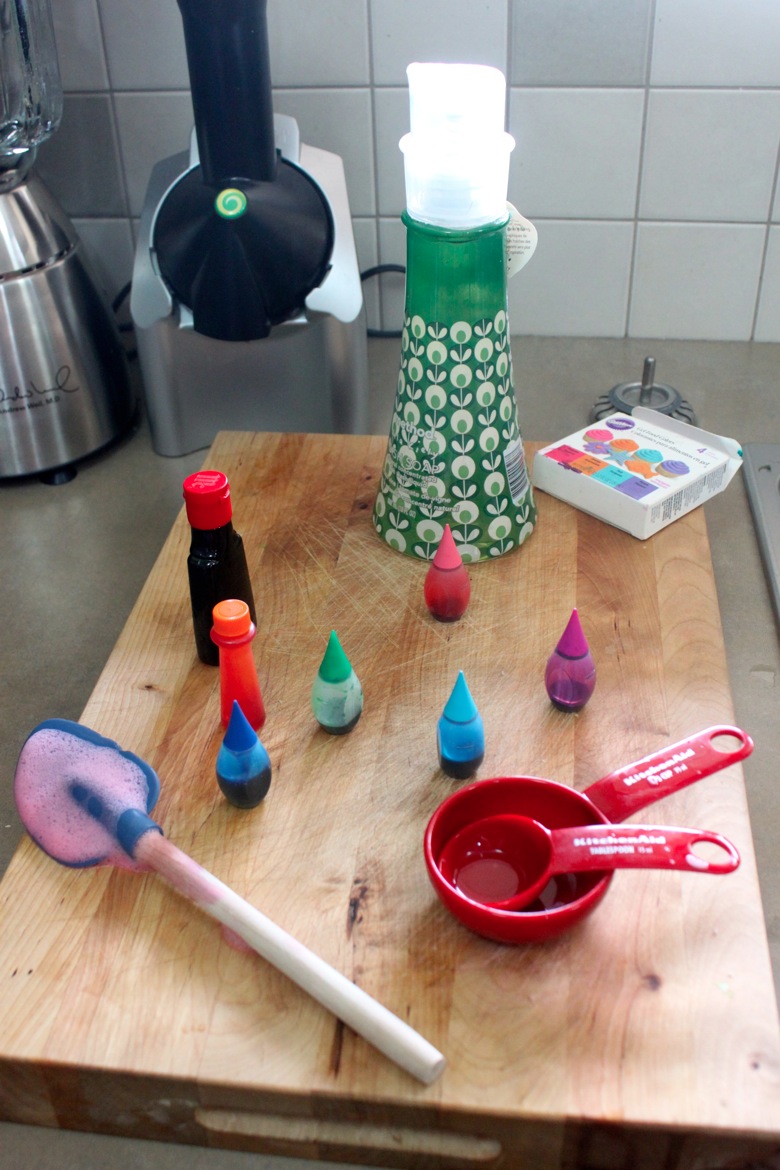
For our bubble foam, we used an eco-friendly dish soap (only because that’s what we use in our house – I’m sure the regularly variety would probably make even better, ‘stronger’ foam) and an assortment of gel and liquid food colouring (both worked well – we just used a little less of the gel because of its strength and a little more of the liquid).

While Amanda of Dirt and Boogers put both her blender and food processor to use when making her foam, we got out our supplies, and decided to try using our Kitchen Aid mixer instead. I wanted to make a lot of foam, and I figured its big bowl would allow us to do so in fewer batches, and I figured that it would be able to whip the foam just as well as, if not better, than a food processor or blender (I also think a hand blender would work well too!)

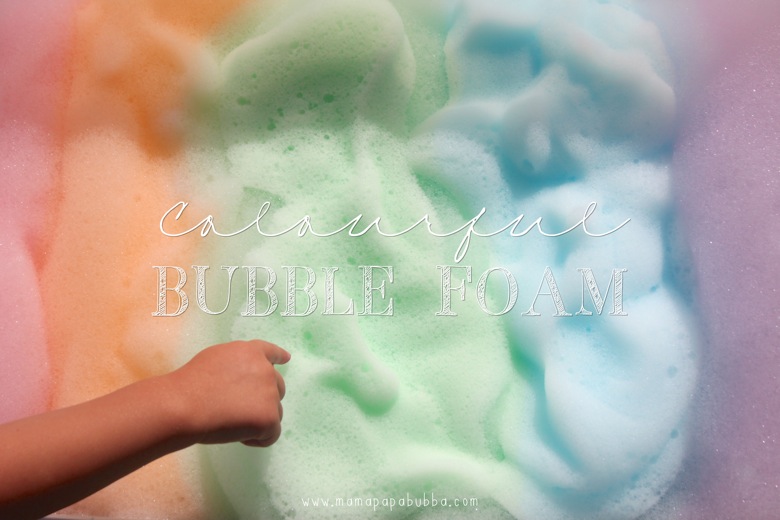
To make our foam, Miss G added 2 tablespoons of dish washing liquid, 2/3 a cup of warm water, and 2 drops of gel food colouring (or 4 or 5 of liquid) to the machine’s bowl. Then we fired up the mixer on its highest speed, and let it whip the mixture into foam for 2 solid minutes. The result was this thick, luxurious foam that formed soft peaks when a spoon was lifted out of it.

We continued the process with 4 other colours of Gracen’s choosing, working quickly so that the foam would maintain its thick texture.

After completing all of the colours in about 10 minutes or so, you can see that the purple foam we made first was starting to ‘air up’, but Grae didn’t mind one bit. She was just thrilled that it was time to dive in finally!

While I did consider bringing some items to use while playing in the bin (I thought maybe cups to hold foamy drinks or cars to put through a foamy carwash), I ended up skipping that part and I’m glad I did. Sometimes less is more, and in this case, the foam was plenty of fun on its own. Gracen immediately started swirling the colours together which made me wonder if next time we should try just 3 colours – red, blue, and yellow – to see how well a little colour mixing experiment would turn out. Either way, swirling the rainbow colours together was brilliant fun.

With her hands and arms absolutely covered in foam, the clapping began… And goodness gracious, did she ever find flying foam hilarious!

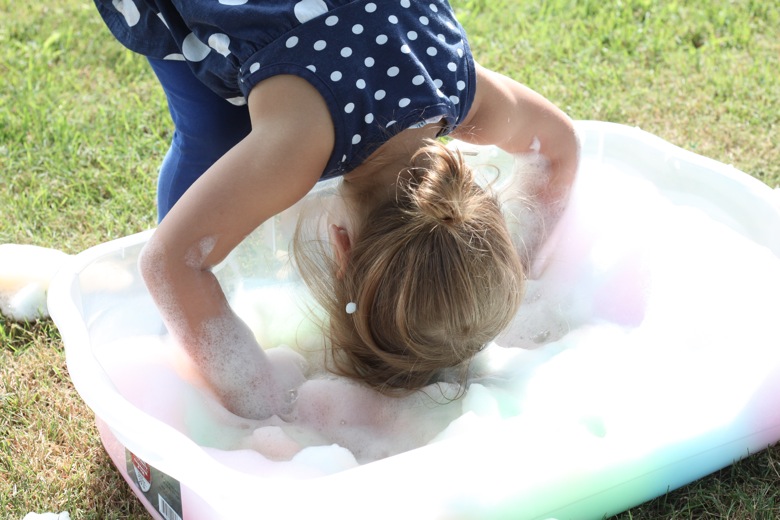
Next up, this silly slippery hands position took form…

And before long, a certain someone’s head was in the bin!

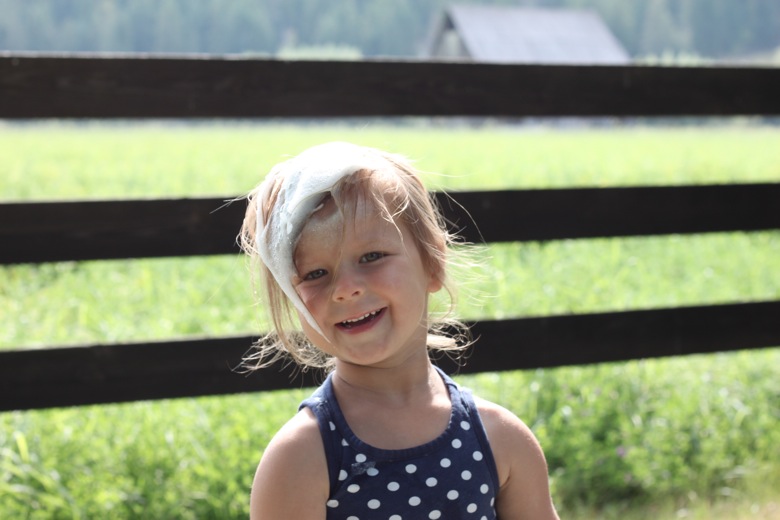
She popped up with hair full of foam, and I knew exactly what was happening next.

Please tell me I’m not the only one whose kid strips off their clothes and jumps into their sensory bins in order to get the full effect…

And who am I to deny this sort of crazy, messy, foamy fun really?

Fully covered in bubbles, Miss G told me that they felt ‘so soft and cozy on her bare skin’ and I don’t doubt it for a minute! At this point I was sort of glad we’d used eco-friendly soap as her skin can sometimes be quite sensitive, which led me to wonder if the same sort of results could be reached with a baby shampoo, bath wash, or bubble bath instead? Another experiment for another day, I guess. ☺ The good news is that this foam didn’t irritate her skin in the least, and they lasted for a ridiculously long time.

One thing I hadn’t thought of when we put together this sensory activity was the possibility of bubbles… And boy, oh boy, were there ever bubbles! Big, giant, huge ones that formed in the space between her two legs and between her arms and her body each time she’d stand up. (It’s hard to see, but there’s a giant one coming from in between her shins in this photo.)

Without a doubt, this has been one of our most fun and engaging sensory activities in a long time, and for a little bit of dish soap, some water, and some food colouring, I’d say that’s pretty amazing!
Colourful Bubble Foam
- 2 tablespoons of dish soap
- 2/3 cup of warm water
- 2 drops of gel food colouring (or 4 – 5 of liquid food colouring)
Place all ingredients in a bowl. Using a kitchen mixer or a handheld mixer, mix the ingredients on the highest setting for 2 minutes (or until the foam forms stiff peaks). Repeat with as many colours as desired.
Enjoy!
For more fun not found on the blog, join us on Facebook or follow us on Instagram.

Love it! The colors are so vibrant too!
Thanks, Heather! I was surprised with how beautiful the colours turned out too!!!
Awesome! Can’t wait to try with my son! One question…the dish soap, is that hard soap or the liquid form?
Liquid dish soap, Fee! :D
So fantastic!!! Can’t wait to try.
Thanks, Merri! I bet your little beauties will LOVE it! :)
Did you ever try this with baby shampoo or body wash? Love this idea!
I wonder if this would work with baby shampoo I’m worried about my 4 year old getting it in her eyes ?
If kids get the foam on their clothes, will it wash out? Or will the food coloring stain?
Does the good coloring strain their skin?
I used green for my boys and it did not stain their skin!
Oh my what typos… Sorry on my tablet. Does the food coloring stain their skin?
Such a fun idea! I used Johnson’s baby soap and it worked wonderful! Easy on the skin and the eyes. I also put it in my bath tub (I was a little worried it would stain my tub so I tested it first) and just let my boys climb in, they played in it for an hour and a half and there was still lots of suds left but they got hungry. They called it paint and they were “painting” the bathtub.
My daughter didn’t care for it! Hubby and I did though, hahaha!
Is dish soap washing up liquid? I’m in the uk.
If you wash your plates cups and other dishes in it in the kitchen sink then I would say so. Like Dawn, Polmolive are some brands you may have too.
Does the food coloring stain the skin or clothes?
Hey everyone, how long does this last? I was thinking of making this for my daughter’s birthday party but would need to do it a few hours ahead of time. Thanks for sharing the great idea.
Hi Andrea! Unfortunately, I don’t think making it a few hours ahead of time will work. We get a good 30 to 40 minutes of play with it, but you can see the first batch already starting to lose it’s ‘fluff’ by the time you’re done making the last batch.
Is it normal for the separation among water and foam that the foam is no more in color after 15-20 mins ? Thanks !
I like the idea sorry I can’t do it.
wow thats so cool
Hello,
Can you use this rainbow foam to wash a white, black, green or silver car? I am really interested in the rainbow foam wash that car washes use, but I really want to make it for my car at home. Have you tried it on your actual car and if yes, is there pictures of the before and after? And will it stain an actual car?
Thank you.
Yes! This is amazing. I love seeing her fully in it. The best!