 Amidst our packing frenzy, the figs on our lovely backyard fig tree have decided that now is the time to become perfectly ripe. This poses a problem for a few different reasons…. 1) The tree is big and old and produces a TON of fruit, 2) I’m the only one in our family that truly enjoys fresh figs, 3) Keeping up with the daily picking of the fruit is time consuming, and 4) If I don’t keep up with the picking, our backyard becomes a sticky mess filled with wasps.
In an effort to avoid a waspy sticky mess of a backyard, I’ve been giving away boxes of figs to almost every person I’ve been in contact with, I’ve been adding 3 or 4 to our green smoothie each morning, and I’ve been eating them fresh as my nightly treat, but that just wasn’t enough. I needed a way to use up a ton of figs all at once, and preferably it would be something that the other members of my family would enjoy too. Enter fruit leather…
 Gracen loves fruit leather, and though it can be a little intimidating if you’ve never made it before, it’s truly one of the easiest, most forgiving things to make. And no special equipment is needed! If you have some fruit, an oven, a baking pan, and some parchment paper, you can easily make your own fruit leather at home.
 I’ve made several batches of this stuff already, and it’s getting eaten up like nobody’s business! Plus I’ve changed my method a little bit and it’s now even easier for me to make my own fruit leather. Here’s how to do it…
Apple Fig Fruit Leather
- 10 ripe figs, washed
- 2 apples, cored and peeled
- 1 cup of water (fresh-squeezed apple or orange juice works too!)
Preheat oven to 125 degrees (or lowest setting) and line a large baking sheet with parchment paper (paper should cover all edges of the pan).
Place all ingredients in a covered pot and bring to a boil. Reduce heat to medium-low and simmer fruit {still covered} for about 30 minutes, or until super soft.
Pour everything into a food processor or good blender and purée until smooth.
Pour fruit mixture out onto parchment-lined baking sheet and use the back of a spatula to spread the fruit purée out so it covers the entire base of the pan. Gently shake the pan make the purée as even as possible.
Pop into the oven for approximately 8 hours (I put ours in just before going to bed). You want to remove the fruit leather from the oven when it’s still sticky to the touch, but not at all wet. You may find that part of your fruit leather will be done earlier than the rest. In this case, you’ll need to remove the fruit leather from the oven, cut off the finished part, and return the still wet to the touch part to the oven for another hour or two.
When finished, simply remove the large sheet of fruit leather from the baking sheet, cut of the excess parchment paper around the edges, and cut directly through both the remaining parchment and fruit leather to create strips. Roll strips and secure with baker’s twine or washi tape. Store in an air-tight container or jar.
Enjoy!
See our other homemade fruit leather recipes here:
Berry Banana // Apple Pear Carrot
♥
For extra fun, like us on Facebook here and find us on Instagram here.


 A couple of weekends ago, at our local farmer’s market, we came across a Abbotsford-based farmer selling my favourite fruit… kiwi. While I had no idea that kiwi fruit was grown locally, I did know that kiwi is delicious and lasts a long time when properly kept, so I stocked up. When we got home, the kiwi went into the back of the crisper and I forgot about them for a while. Oops.
 Upon rediscovering a stash of over a dozen kiwis, I decided we had to put {at least some of} them to good use asap. I ran a few ideas past my sous chef and she very confidently decided on popsicles. As you do. We gathered up a few simple ingredients – the kiwi, some plain yogurt, a little bit of honey, and some pure apple juice, and got started.
  While I’m sure they would have been yummy given the original line up of ingredients, at the last minute I decided to add in an avocado… Extra creaminess and extra nutrients equals a win-win, right?
 My little helper threw everything into the food processor…
 Stopping to sample her first ever taste of apple juice. When the measuring cup was four fifths empty she asked, “Dump it in now, Mama?” Hmmm… you think she enjoyed it?
 After replacing our missing apple juice, we processed everything until smooth.
 This was the result. A super smooth, super creamy mixture that Miss G wanted to drink then and there.
 We transferred the mixture into our makeshift popsicle moulds, which are still some of my very favourites despite the fact that we now have several proper sets.
 Grae happily placed the lids on top and inserted the wooden popsicle sticks…
 And it was time for the freezer.
 Several hours later, we had delicious, healthy popsicles Miss G couldn’t wait to get her little hands on.


 After eight hours, we had a lovely sheet of fruit leather.


 One of the few ready-made packaged foods I buy now and then is organic all-fruit fruit leather strips. They’re a very special treat for Miss G and I don’t feel horrible about letting her have one once and a while (as long as her teeth are brushed extra well that day), but I’ve always known that I should probably be making them at home instead. Recently, our local grocery store stopped restocking their organic fruit leather supply (I think they’re getting rid of the current stock and then no longer carrying them) and they were down to just two lonely strips on our last visit. It was the perfect push I needed to try making my own.
  Today I asked Gracen if she’d like to try making some fruit leather of our own, and she responded enthusiastically with, “Sure! Purple ones.” so I decided we’d try a berry variety first. Since we don’t really buy many berries when they’re out of season, we went with what we had in the freezer – strawberries, raspberries, and wild blueberries. Plus an apple and half a lemon for texture and a little kick.
 As we were prepping the fruit, which really only consists of peeling and coring the apple, we decided to add a banana in the mix for sweetness.
 With all of the ingredients ready to go, Gracen popped them into a large pot…
 Then squeezed the lemon on top…
 And added a little bit of water.
 Then we popped the mixture on the stove to stew over medium heat for a while.
 About a half hour later, this is what we had.
 We let it cool for a little bit and then dumped it in the food processor to puree for a bit.
 With our mixture nice and smooth, we lined a baking sheet with parchment paper…
 And poured our berry mixture on top.
 Using a spatula, we spread the mixture out to cover the entire base of the pan (on our next attempt, I’d spend a little more time getting it as evenly as possible) and put the pan in the oven on the lowest temperature.
 Eight and a half hours later (yes – it takes a long time!) this is what we had.
 We carefully peeled off the parchment paper…
 And then I used kitchen scissors to cut it into strips.
 A little parchment paper and baking twine later, we had our own homemade {and healthy!} version of a Fruit Roll-Up. ☺


 Gather the ingredients.
  Place the pecans on a baking sheet and pop them into the oven to toast for about 10 minutes.
 In the meantime, put some of the oats into a blender or food processor and turn them into oat flour.
 Pour the oat flour into a large mixing bowl.
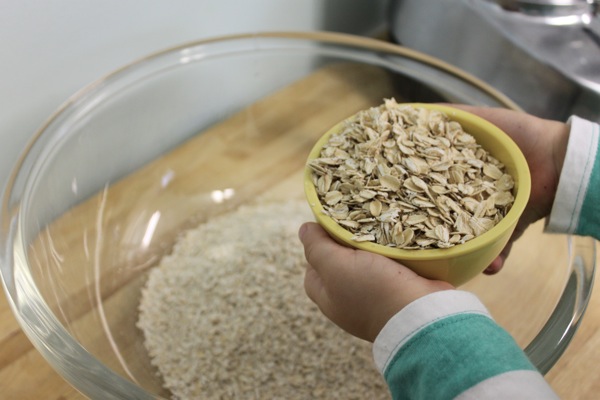 Add your regular old-fashioned oats.
 Then the ground flax and hemp hearts…
 Plus the salt, baking soda, and cinnamon.
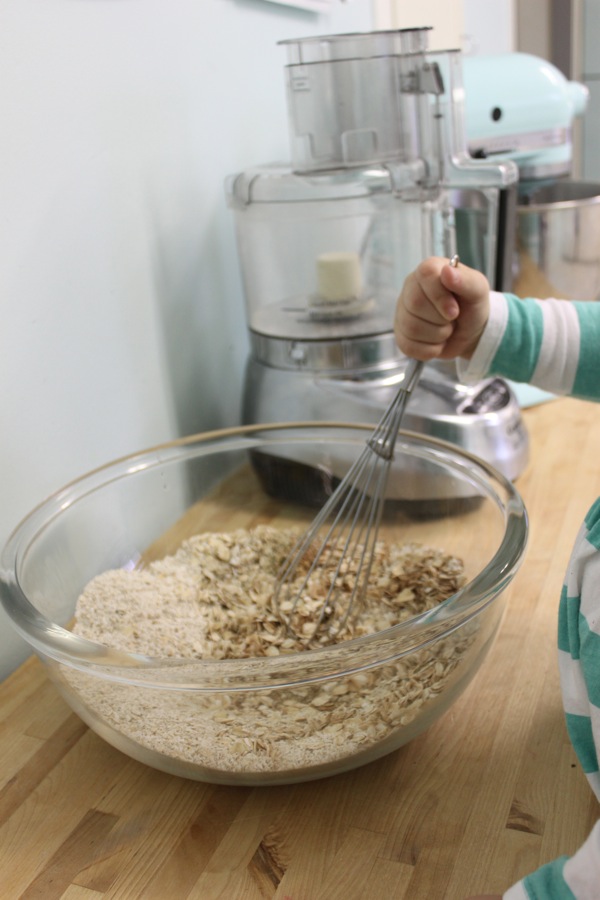 Give all of the dry ingredients a good stir.
 Next, pour in the pure maple syrup.
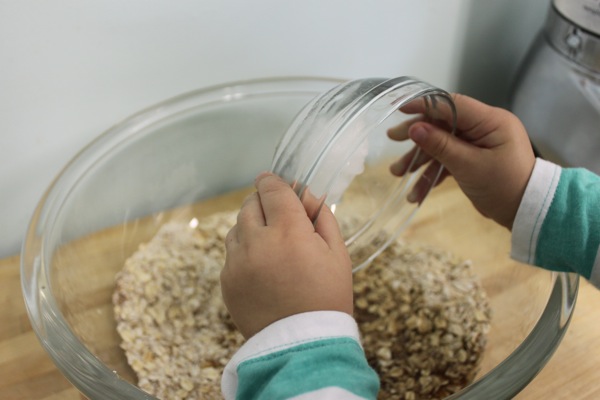 Coax the coconut oil into coming out of its bowl…
 Add the honey…
 And vanilla.
 Stir the sticky mixture well.
 At this point, it’ll be crumbly and sticky all at once and you’ll wonder how on earth it’ll ever become cookies. Don’t fret.
 By now, your roasting pecans will smell lovely and will be ready to come out of the oven.
 Allow them to cool a moment and pop them into a blender or food processor, pulsing them just a handful of times to create small bits.
 Then add them to your cookie mixture.
 Next up, the add-ins. Dump in your raisins…
 Plus the sunflower seeds and almond slices…
 And stir everything up really well.
 Now for the tricky part… With a bowl of warm water nearby, wet you hands, scoop out a heaping tablespoon of cookie dough, and shape into a ball, pressing firmly. Repeat for the remainder of the dough, rewetting your hands every couple of cookies.
  And take them out approximately 10 – 13 minutes later, when the outsides are golden and crispy, but the centre is still very soft to the touch. Let the cookies cool completely before removing from the pan.
 Serve with a glass of cold milk, or if you prefer ‘the Gracen special’, with a small bowl of plain yogurt (she plops the cookie in, then smashes it into the yogurt with her spoon – I think they remind her of granola ☺).
 Only I would try to amp up the nutritional value of bananas… Haha! I kid. (Kinda.) The truth is, Miss G has been on a
  Here’s the ingredient lineup… Bananas (ripe, but not overripe), roasted ground flax seed, and cinnamon.
  Start off by peeling the bananas and making sure all of the white stringy things are removed.
 Chop them into coins (maybe about a half inch thick?) and set them aside.
 Next, pour some roasted ground flax seed into a container with a lid (or a zip close bag).
 Enthusiastically dump some cinnamon in too.
 Put the lid on the container and give it a little shake.

 Place the lid on the container again and shake until all of the banana coins are well coated.
 Next, place the coated banana pieces onto a parchment-lined baking sheet.
 Place the tray in the freezer for at least an hour.
 Serve them frozen to your excited toddler and watch them disappear. (Without a word of a lie, Gracen gobbled up our entire batch – and that was after a full meal!)


 Here they are.
  In the morning, peel a few bananas. (Grae loves this part.)
 Then slice them up.
 Place the banana coins on a parchment-lined baking sheet and pop them in the freezer for at least a few hours.
  In the afternoon, once they’re completely frozen through, take the bananas out of the freezer.
 Place approximately 1/3 of the banana coins into a good food processor.
  Mix through the chunky stage, past the crumby stage, and right into the smooth, soft serve texture stage. You may have to stop the processor once or twice to mix things up a little with a spatula, but it’s not always needed.
 Once the mixture is thick and creamy, stop the food processor and add a capful of good vanilla.
 Plus another 1/3 of the banana coins and mix to bring to a soft serve texture again.
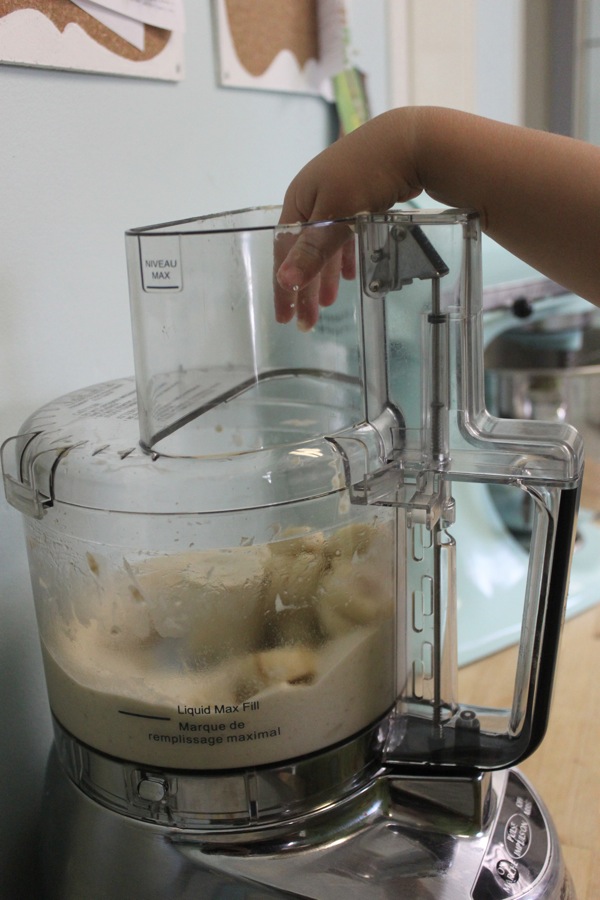 Then, add the last batch of banana coins and blend again. If you’re feeling like a vanilla-flavoured treat, you can stop here and serve immediately, or put the ice cream into the freezer for a while for a more hard ice cream texture.
 BUUUUUUT, if you want peanut butter and jelly neopolitan-esque treat, divide your ice cream into thirds, leaving one portion in the food processor. Place the two other portions in the freezer in the meantime.
 First up, make the jelly flavoured ice cream. Add a spoonful of no-sugar-added fruit preserves…
 And a few frozen strawberries.
 Then blend until smooth. Pop the berry ice cream in the freezer and give your work bowl and blade a quick rinse.
 Remove one of your vanilla-flavoured ice cream portions from the freezer, pop it in the processor, add a heaping tablespoon of all-natural peanut butter, and mix. When blended, transfer the peanut butter ice cream back into your bowl and pop it in the freezer.
 While you tidy up a tad, let your toddler ferociously lick the bowl and spoon.
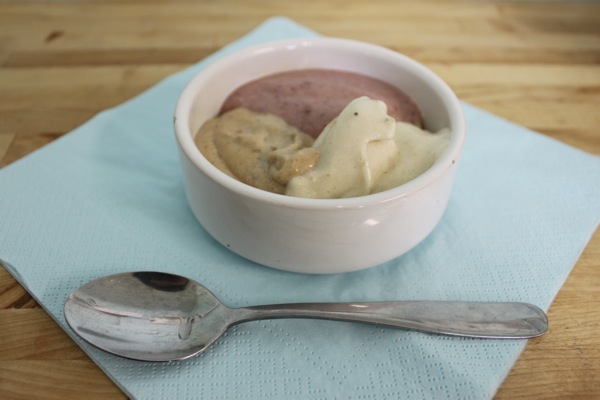 If possible, let your soft serve firm up in the freezer for 5 to 10 minutes. Or, if your toddler is like mine, serve immediately to appease the begs for “iceth cleam”.
 Enjoy!
 First up – the banana almond yogurt pops! Gracen popped a couple of frozen bananas into the blender to get us started.
 Then she added some all-natural almond butter.
 And a generous amount of whole organic plain yogurt.
 We decided to add in a little sprinkling roasted ground flax seed at the last minute too…
 Then we blended it all up.
 And poured it into our little containers (I’ve been searching for mini popsicle molds for a while now, but haven’t had any luck… This is my interim solution).
 Miss G was pretty stoked at the fact that there was a little left over. Mmmmmm!
 No need for a blender with these ones… Grae started us off by putting some yogurt into our bowl.


 And then Gracen mixed it all up.
 And we poured it into the remaining containers.
 We put on the tops, popped in some wooden popsicle sticks, and put them in the freezer. Tomorrow we shall see how they taste!