When you move overseas and take only things that can come along with you on the airplane, there are many things that just don’t make the cut. In the case of Miss G, we brought her clothes and shoes as would be expected, plus 2 rubbermaid bins packed full of good quality wooden toys and puzzles, a couple of games, craft supplies that aren’t readily available in Kuwait, her very favourite dress-up items and puppets, and as many soft covered books as would fit. One thing that didn’t make the cut however, was her awesome collection of wooden stamps. They’re bulky, heavy, and many are season specific, so they had to stay.

What did make the cut, however, was a bag of wooden blocks for my Littlest Lulu creations (inexpensive equivalents can be purchased at craft stores), a big bottle of my favourite craft glue, and some colourful foam sheets. In which case, who needs store bought stamps anyways? ☺

In order to make our new stamp quickly and easily, Gracen first helped me to trace a block a couple of times onto each of our 6 foam sheets (we only really needed to do it once, but I was pretty sure that after making one stamp, Miss G would request to make another). The idea was that the markings would then give us an idea of how much space we’d have to work with when creating our foam shapes.

When asked what kind of stamp she’d like to make, Grae immediately responded with “Shapes!”, so that’s what we did. Though I thought it would be fun to have her draw her own shapes in the traced boxes, she requested that I do that part of the project instead, so we settled on her naming the shapes she’d like and describing them to me as I drew them freehand.

Next up, I quickly cut out our 6 shapes as Gracen told me their colours and names.

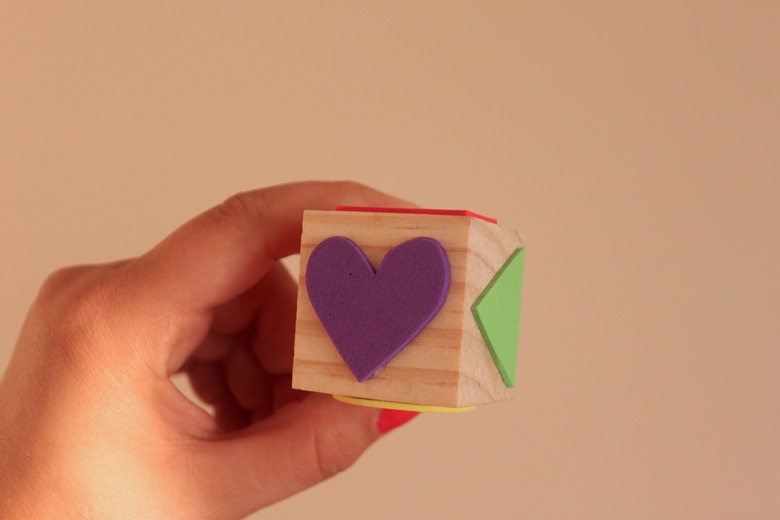
Using a very thin layer of craft glue, we adhered one shape onto each side of our unfinished wooden block, pressing them down for a few seconds in between.

The finished product was this colourful, 6-sided block stamp that Grae was anxious to try out.

After letting it dry overnight, Gracen got to work early the next morning and chose a purple stamp pad to accompany her new homemade stamp.

The results were actually pretty great and Grae quickly discovered that could change the intensity of the ink with the amount of pressure she put on the stamp.
 Not only does the stamp work decently well, but the process of making our own stamp was half of the fun! If I had to guess, I see many more of these in our near future…
For more fun not found on the blog, join us on Facebook or follow us on Instagram.
