
This weekend we took our stash of Christmas books out and oh my word… Was Miss G ever excited. She’s been asking to take them out for ages now, so as soon as we did, she got straight to sorting, organizing, and reading them. {Gosh, I love her.}

This weekend we took our stash of Christmas books out and oh my word… Was Miss G ever excited. She’s been asking to take them out for ages now, so as soon as we did, she got straight to sorting, organizing, and reading them. {Gosh, I love her.}

One of my very favourite things about the holidays is making all kinds of fun homemade ornaments with Miss G. I just love it. We gather up our materials, put on some music, chat while we create side-by-side, and in the end, we’ve got at least a couple of new colourful and quirky ornaments to add to our colourful and quirky Christmas tree.

Woohoo! The season of homemade Christmas ornaments has officially begun in our house and we’re already loving it. We always dedicate a morning or afternoon to creating special ornaments for the tree as a family, and then Grae and I add to our collection right up until Christmas {as you do}.

Oh my goodness… It feels like Gracen and I have been waiting for this week’s instalment of our preschool book club forever! Shortly after sharing our magnetic polka dot sensory bag inspired by Press Here {one of our favourites}, Herve Tullet’s publicist contacted us and asked if we’d be interested in checking out his newest book, Mix It Up! Ummm.. YES?! {And stay tuned until the end of the post, because we’re also giving away a copy to one of our lovely readers!}
 {this post contains affiliate links}
While Miss G and I were out oohing and ahhing at all of the pretty things in Pottery Barn Kids earlier this week, I spotted some beautiful glitter monogram ornaments that I knew we could easily make at home.
My personal rule? All things Christmas wait until December 1st. Well, besides crafting or purchasing the odd little gift here and thereI guess…
This year though, I’ve broken my own rule. I’m not sure how it happened, but we were looking for a fun afternoon activity and somehow I ended up whipping up a batch of baking soda clay without giving any thought to the fact that it’s still November. Oops… It’s okay, though. We started the tradition of making special handcrafted ornaments together as a family last year, and I already have {more than a} few new types in mind for this year, so we’ll just call this our practice round…
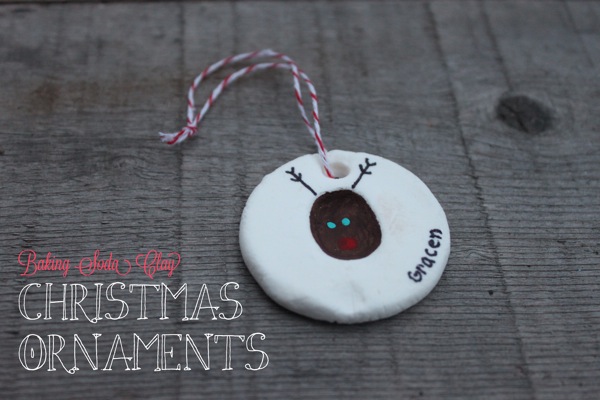
I’ve always been a fan of salt dough ornaments. The dough is easy and inexpensive to make, it’s really easy to work with, and you can shape and mould it almost any way you like. The only downside to salt dough, however, is that it loses some of its appeal when it dries out. Last year we made several different salt dough ornaments, and though they are special because they are handmade, they did crack / puff up / brown a little bit during the drying process. So when I started seeing baking soda clay pop up all over Pinterest just after Christmas last year, I knew we’d have to baking soda clay ornaments a shot during our next round.

The dough itself is very easy to make. It involves just three ingredients (baking soda, cornstarch, and water) and a little heat, and before you know it, it’s done. I followed this recipe almost exactly, but added about a tablespoon more cornstarch. The result is this amazingly soft, smooth, bright white dough that feels silky in your hands.
UPDATE: The recipe link we used for this project no longer exists… Here is a similar baking soda clay recipe.
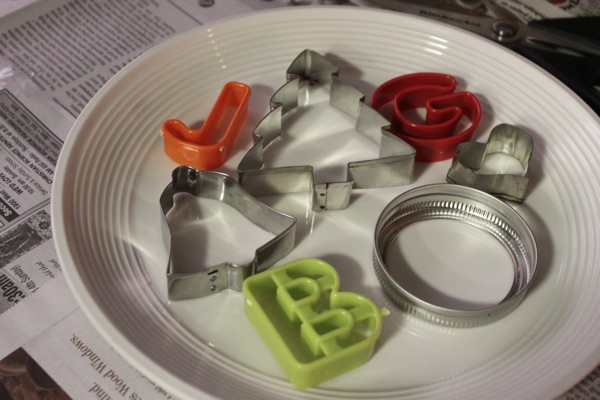
Once the dough was made and was cooling, I collected a few things from around the house to use to create shapes. Cookie cutters were the obvious first choice, but mason jar lids, the rims of glasses, and butter knives all work well for the job too.

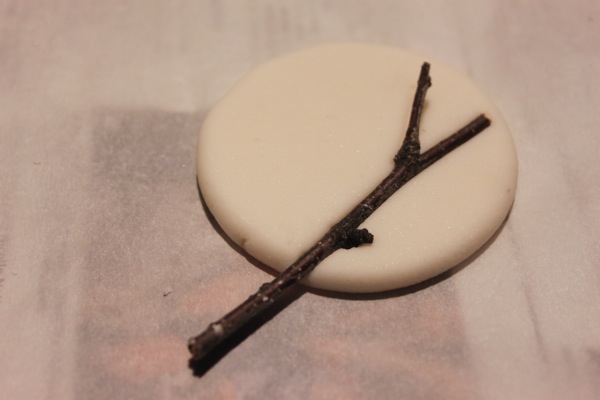
Next, I gathered some materials to make impressions in the dough. After a visit raiding Gracen’s stamp collection and nature shelf, this is what I had.
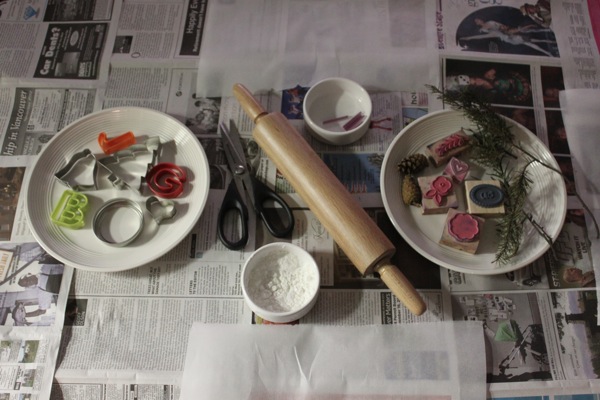
I also got out a rolling pin, some kitchen scissors (for freehand shapes), some straw pieces (for creating holes to tie twine through), and some extra corn starch to prevent the dough from sticking to everything.
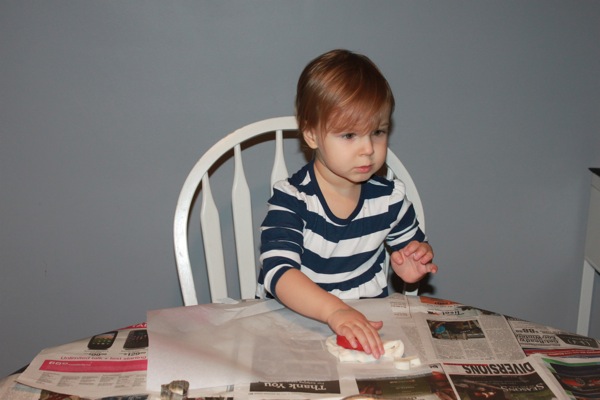

We got started by giving Gracen a chunk of the dough to just play with and explore at first, but of course she requested a cookie cutter and stamp and was right down to business. That’s just her style.
Now anywhere you read about baking soda dough, the instructions will clearly advise to leave the dough sit until completely cool, but we were too impatient for that. As a result, our dough was still a tad bit warm and sticky, which made it a little bit tricky to work with. My advice? Wait until it’s completely cool. Lesson learned.

What we found worked really well, even with our warm sticky dough, was using the bottom of a flat dish or glass to flatten the dough, rather than using the rolling pin. The rolling pin was just too sticky for our dough, but the dish bottoms worked perfectly.


As far as making the impressions went, we found that lightly dusting the stamp or object with cornstarch first, then pressing it into the dough and removing it slowly turned out great results.

The same technique worked best with the cookie cutters too – dust cookie cutter with cornstarch, then push the dough out of the cookie cutter gently and slowly.

When we’d used up every last bit of dough, I popped the ornaments onto a parchment-lined baking sheet and put it into a just-warm oven to dry out. We left them in there for several hours, flipping them every now and again, and before going to bed, I turned off the heat and left them sit in oven overnight.


The next day, we got out our paintbrushes and acrylic paints, and painted away.

These are some of my very favourite ornaments that Grae made. She pressed the dough, cut the shapes, and decorated them all by herself.

This little reindeer family was made by making 3 small balls, flattening them down with the bottom of a cornstarched bowl, and then pressing our thumbs into the middles. I cheated a little bit and used a Sharpie for the antlers and names, because well, we all know how they would have turned out had I used paint…
 This heart ornament also started as a flattened ball, and then I used a cookie cutter to push just part of the way through to the dough to make the heart shape.
Once our paint was dry, we added some string to hang them from. Ribbon or jute would be pretty, but I have a thing for baker’s twine currently, so we went with that. Here are some of our finished ornaments…


Aren’t they pretty?

And because our yearly ornament making tradition is bound to leave us with heaps of special, handcrafted tree decorations one day, we added the year onto each.
♥
Though we didn’t do it this time around, giving the ornaments a light coat of Mod Podge or spray-on sealant make protect them and help them last longer.