Our morning started innocently enough… I thought I’d keep the munchkins happy and busy in the playroom with some morning painting while Brad took a conference call upstairs.

Our morning started innocently enough… I thought I’d keep the munchkins happy and busy in the playroom with some morning painting while Brad took a conference call upstairs.

Yay! Another round of Preschool Book Club with our lovely friends – Buggy and Buddy, Sugar Aunts, Frogs Snails and Puppy Dog Tails, and Homegrown Friends!

I had actually planned spice painting as an open-ended activity for my Crafty Kids students today, but between making senses books, creating squishy sensory balls, and exploring the magic that is slime, we didn’t get to it. Not to worry though, between Gracen and a handful of friends, the paint got plenty of use down in the courtyard this afternoon.

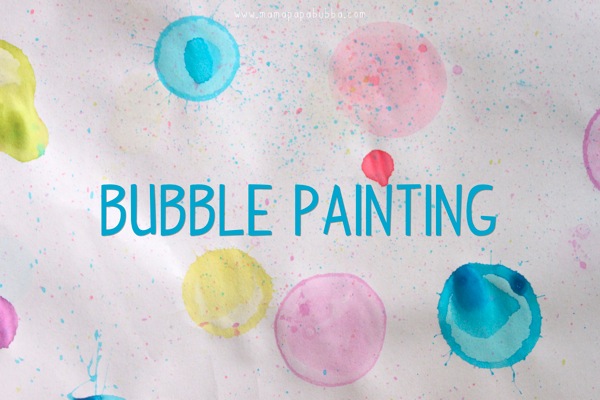
Yesterday Miss G and I finally got around to something that’s been on my mental activity list forever now… Bubble painting! Now if you cruise Pinterest, you’ll see that bubble painting is all over the internet and everyone seems to do it a little bit differently. Variations include all different sorts of bubble solutions, wands, and methods, so we just made up our own.
 Every once and a while, I seem to go through a paper roll collecting stage. I have no idea why, because I truly never have anything planned for them, but it happens none the less. When I noticed a little collection of them today during nap time, I decided we’d put them to use this afternoon.
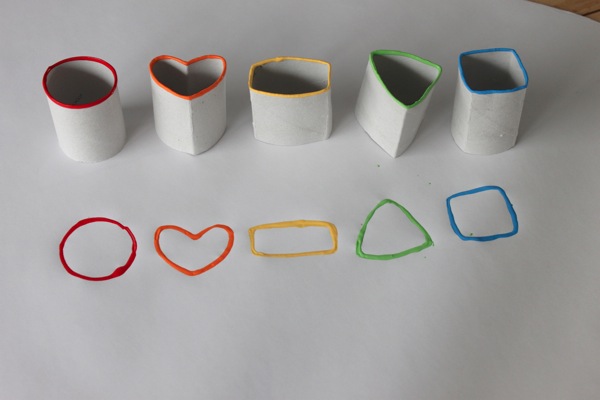
 Though we really haven’t done a whole lot of paper tube crafts, I remembered how much Miss G enjoyed the heart stamping activity we did last fall. Not wanting to do the exact same thing again, I decided to create several different shapes to switch things up a little bit. To start off, I gently cut the tubes in half.
 Next, came shaping them. The good news is that it wasn’t difficult. For the triangle, square, and rectangle, I basically made the required number of corners by folding the tubes, then played with the shapes a little bit until I was happy with them. You can see exactly how to form the heart shape here, and the circle, well, you just leave it as is {obviously}.
 At this point, Gracen was still asleep and I just couldn’t wait test them out. So I didn’t. ☺
 When my little lady woke up, she quickly discovered the stamping station I’d set out for her, and she was thrilled.
 She stamped away testing out each shape thoroughly…
 Her personal favourite? My impromptu bow tie stamp dipped in purple paint (of course).
Depending on the paper used for this project, your little one(s) could create a new piece of art for the wall, a piece of wrap for a gift, or a greeting card for someone special.
♥
For extra fun, like us on Facebook here and find us on Instagram here.

I’ve had this very easy bath activity on my list of to dos for a long while now, but I just never seem to come across shaving foam that doesn’t smell like a bottle of men’s cologne (is it just me or does putting your little lady to bed reeking like a can of Barbesol feel weird?)

But on our latest trip to the States, I came across this one… A shaving cream that smells like raspberries. While I’d prefer it to be all-natural and unscented if possible, beggars can’t be choosers, so I picked up a couple of bottles.
Tonight before bath time I gathered the shaving foam, some food colouring, a muffin tin, and a few paintbrushes, and we had foamy bathtub paint in no time!

To make the foamy paint I squeezed a few drops of food colouring into each muffin cup, filled them up with cream, and stirred them up using the paintbrushes. In hindsight, I should have put the cream in first and the food colouring on top as it would probably have been easier to mix, but it still turned out just fine.

In addition to making the paints, I squeezed a couple of drops of pink food colouring into the bath water… Miss G thought it was all pretty special.

The first order of duty was smelling them…

And then she dove right in. She did use the brushes too, but squishing the foam through her little fingers was too much fun not to try.

After all of the paints had been used up and the bath water was a deep shade of purple, we used our removable shower head to simply rinse the foam down the drain. While the clean up was very easy, the more vibrant colours did tint our white grout in a couple of places, so that’s something to be aware of. At the same time, we’ve stained our grout {a little bit} before and it’s just faded with time and eventually disappeared, so I’m not too worried about it. Especially because it’s all in the name of fun, right?
♥
For extras not found here on the blog, like us on Facebook here and find us on Instagram here.
 In preparation for Little G’s Valentine’s Day tea, this morning we experimented with making our own finger paint. I found the recipe on Pinterest a long while back, and knew it would come in handy one day soon.
 Gracen carefully added all of our ingredients into a large measuring cup first…
 And then enthusiastically mixed it up!
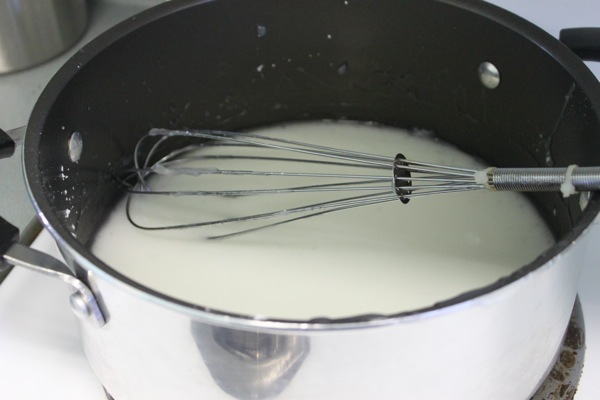
 Then we warmed the mixture on the stove…
 Separated it into small bowls, added a few drops of food colouring, and stirred it well. It looks pretty, right?
We’ll have to use the paint a little more (right now we’ve just got in zip-close bags for mess-free painting), but I’m not sure that I’m sold on this recipe. Although it’s very quick and easy to make, uses ingredients that most people already have in their kitchen, and has a great texture while warm, ours turned out like Jello when cooled. It did soften up again when stirred well, but I think next time we’ll try cutting down the amount of corn starch a little. The other important thing that the recipe doesn’t mention is that the mixture needs to be stirred constantly while heating. We didn’t do that the first time around and ended up with a clumpy, bumpy mess! We’ll have to see what it looks like when we actually put it on paper…