A few months ago, I bought a cookbook for kids put out by the Mayo Clinic. Gracen loves flipping through the recipes and selecting new “projects” for us to try, and without fail, if I ask her what she thinks we should have for dinner, she’ll respond with, “Just a minute, Mama. Grae Grae checks recipes!” She’s had the book open to a recipe for chocolate raspberry scones for a couple of days now, so today we finally got around to whipping up our version of the recipe.
We went all out and used butter (I always replace butter and margarine with grapeseed or olive oil), but I justified it with the fact that it was organic butter and it was a pretty small amount. I just didn’t know if scones would have the proper texture without it. Though they aren’t very sweet {at all}, I’m happy to say that they are moist, tender, and perfect when paired with jam.
 Here are our ingredients… Whole wheat flour, plain organic yogurt, baking soda, baking powder, organic butter, honey, frozen raspberries, vanilla, and a lemon.
 We started by combining the dry ingredients.
 Then we added the butter and cut it into the flour mixture with a fork because I could not for the life of me find my pastry cutter (perhaps I owned one in Kuwait, but not in Canada? Hmmm…)
 Next, we added the frozen raspberries and lemon zest into the dry mixture and gently stirred them in.
 Then, in a separate bowl, we mixed the yogurt, honey, lemon juice, and vanilla together.

 Grae then poured the wet mixture into the dry mixture and gently stirred it until just combined.
 Afterwards, we plopped in onto a piece of parchment paper, kneaded the dough a few times, and shaped it into a circle about an inch thick.
 Our dough was pretty sticky at this point, and probably could have used a little extra flour, but we just went with it and cut it up into triangles.
 Then we carefully moved the scones onto a parchment-lined sheet, and popped them in the oven to bake.
 Voila! A delicious homemade snack or breakfast.
Wholewheat Raspberry Scones
- 2 cups of wholewheat flour
- 1 tablespoon of baking powder
- 1/4 teaspoon of baking soda
- 1/3 cup of organic butter
- 1/2 cup of frozen raspberries
- zest of 1 lemon
- 1 cup of plain organic yogurt
- 2 tablespoons of honey (more if you prefer a sweet scone)
- 1 teaspoon of pure vanilla
- juice of 1 lemon
Preheat oven to 350 degrees. Mix dry ingredients well. Using a fork or pastry blender, cut in the butter. Add the raspberries and lemon zest and stir gently.
In a separate bowl, mix the wet ingredients together.
Add the wet ingredients to the dry ingredients and stir until just barely combined. Spill dough out onto a countertop and knead it a few times. Shape it into a circle that is approximately an inch thick. Using a sharp knife, cut the circle into triangles, as you would a pizza.
Gently place the wedges onto a parchment-lined baking sheet and bake for approximately 12 – 14 minutes.
Allow to cool and serve.
Enjoy!


 Gather the ingredients.
  Place the pecans on a baking sheet and pop them into the oven to toast for about 10 minutes.
 In the meantime, put some of the oats into a blender or food processor and turn them into oat flour.
 Pour the oat flour into a large mixing bowl.
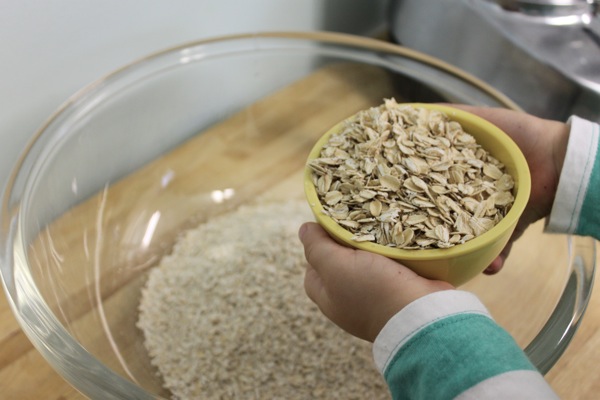 Add your regular old-fashioned oats.
 Then the ground flax and hemp hearts…
 Plus the salt, baking soda, and cinnamon.
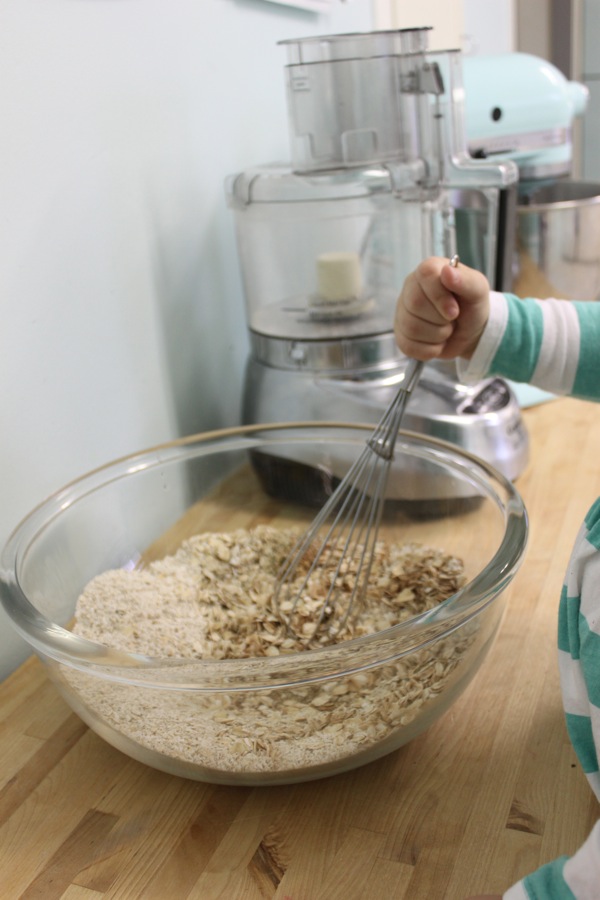 Give all of the dry ingredients a good stir.
 Next, pour in the pure maple syrup.
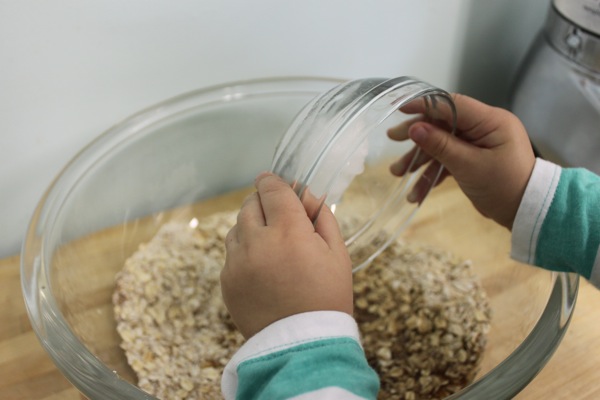 Coax the coconut oil into coming out of its bowl…
 Add the honey…
 And vanilla.
 Stir the sticky mixture well.
 At this point, it’ll be crumbly and sticky all at once and you’ll wonder how on earth it’ll ever become cookies. Don’t fret.
 By now, your roasting pecans will smell lovely and will be ready to come out of the oven.
 Allow them to cool a moment and pop them into a blender or food processor, pulsing them just a handful of times to create small bits.
 Then add them to your cookie mixture.
 Next up, the add-ins. Dump in your raisins…
 Plus the sunflower seeds and almond slices…
 And stir everything up really well.
 Now for the tricky part… With a bowl of warm water nearby, wet you hands, scoop out a heaping tablespoon of cookie dough, and shape into a ball, pressing firmly. Repeat for the remainder of the dough, rewetting your hands every couple of cookies.
  And take them out approximately 10 – 13 minutes later, when the outsides are golden and crispy, but the centre is still very soft to the touch. Let the cookies cool completely before removing from the pan.
 Serve with a glass of cold milk, or if you prefer ‘the Gracen special’, with a small bowl of plain yogurt (she plops the cookie in, then smashes it into the yogurt with her spoon – I think they remind her of granola ☺).
 But onto the recipe. Here’s what we use to make our overnight mango coconut chia pudding… Your choice of milk (coconut milk is especially delicious in this recipe), pure maple syrup, chia seeds, pure vanilla, unsweetened coconut, and a mango (not pictured because it isn’t needed until morning).
 I like to make this recipe in a mason jar because it seals well and I can give the jar a little shake every now and then, but any sort of bowl or container that has a lid will do.
  Then add the coconut…
 The maple syrup…
 And the vanilla.
 Give everything a stir…
 Pop the lid on and put the jar in the fridge. If you come back to the fridge again that night, give the jar a gentle shake to prevent clumping. If not, it’s not a big deal.
 When you wake up in the morning, retrieve your mason jar of pudding. It’ll be thick and creamy by now and will resemble the insides of a passionfruit. Grab a mango too. (Though mango / coconut is one of our favourite combinations, strawberries, bananas, and blueberries pair well with the coconut too.)
 Now peel and chop up your mango into small pieces…
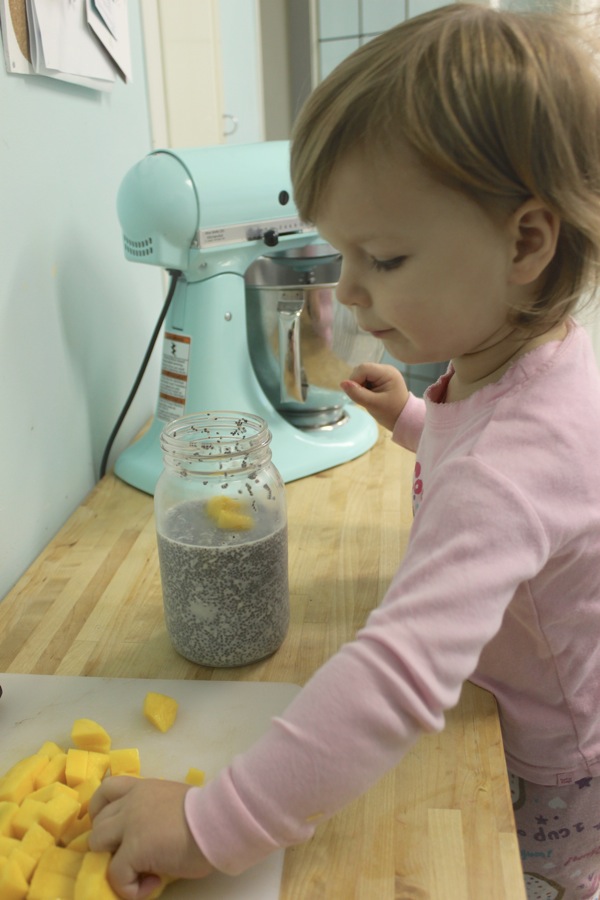 And add them to the jar.
 Mix everything together well.
 Breakfast is ready!
 Only I would try to amp up the nutritional value of bananas… Haha! I kid. (Kinda.) The truth is, Miss G has been on a
  Here’s the ingredient lineup… Bananas (ripe, but not overripe), roasted ground flax seed, and cinnamon.
  Start off by peeling the bananas and making sure all of the white stringy things are removed.
 Chop them into coins (maybe about a half inch thick?) and set them aside.
 Next, pour some roasted ground flax seed into a container with a lid (or a zip close bag).
 Enthusiastically dump some cinnamon in too.
 Put the lid on the container and give it a little shake.

 Place the lid on the container again and shake until all of the banana coins are well coated.
 Next, place the coated banana pieces onto a parchment-lined baking sheet.
 Place the tray in the freezer for at least an hour.
 Serve them frozen to your excited toddler and watch them disappear. (Without a word of a lie, Gracen gobbled up our entire batch – and that was after a full meal!)
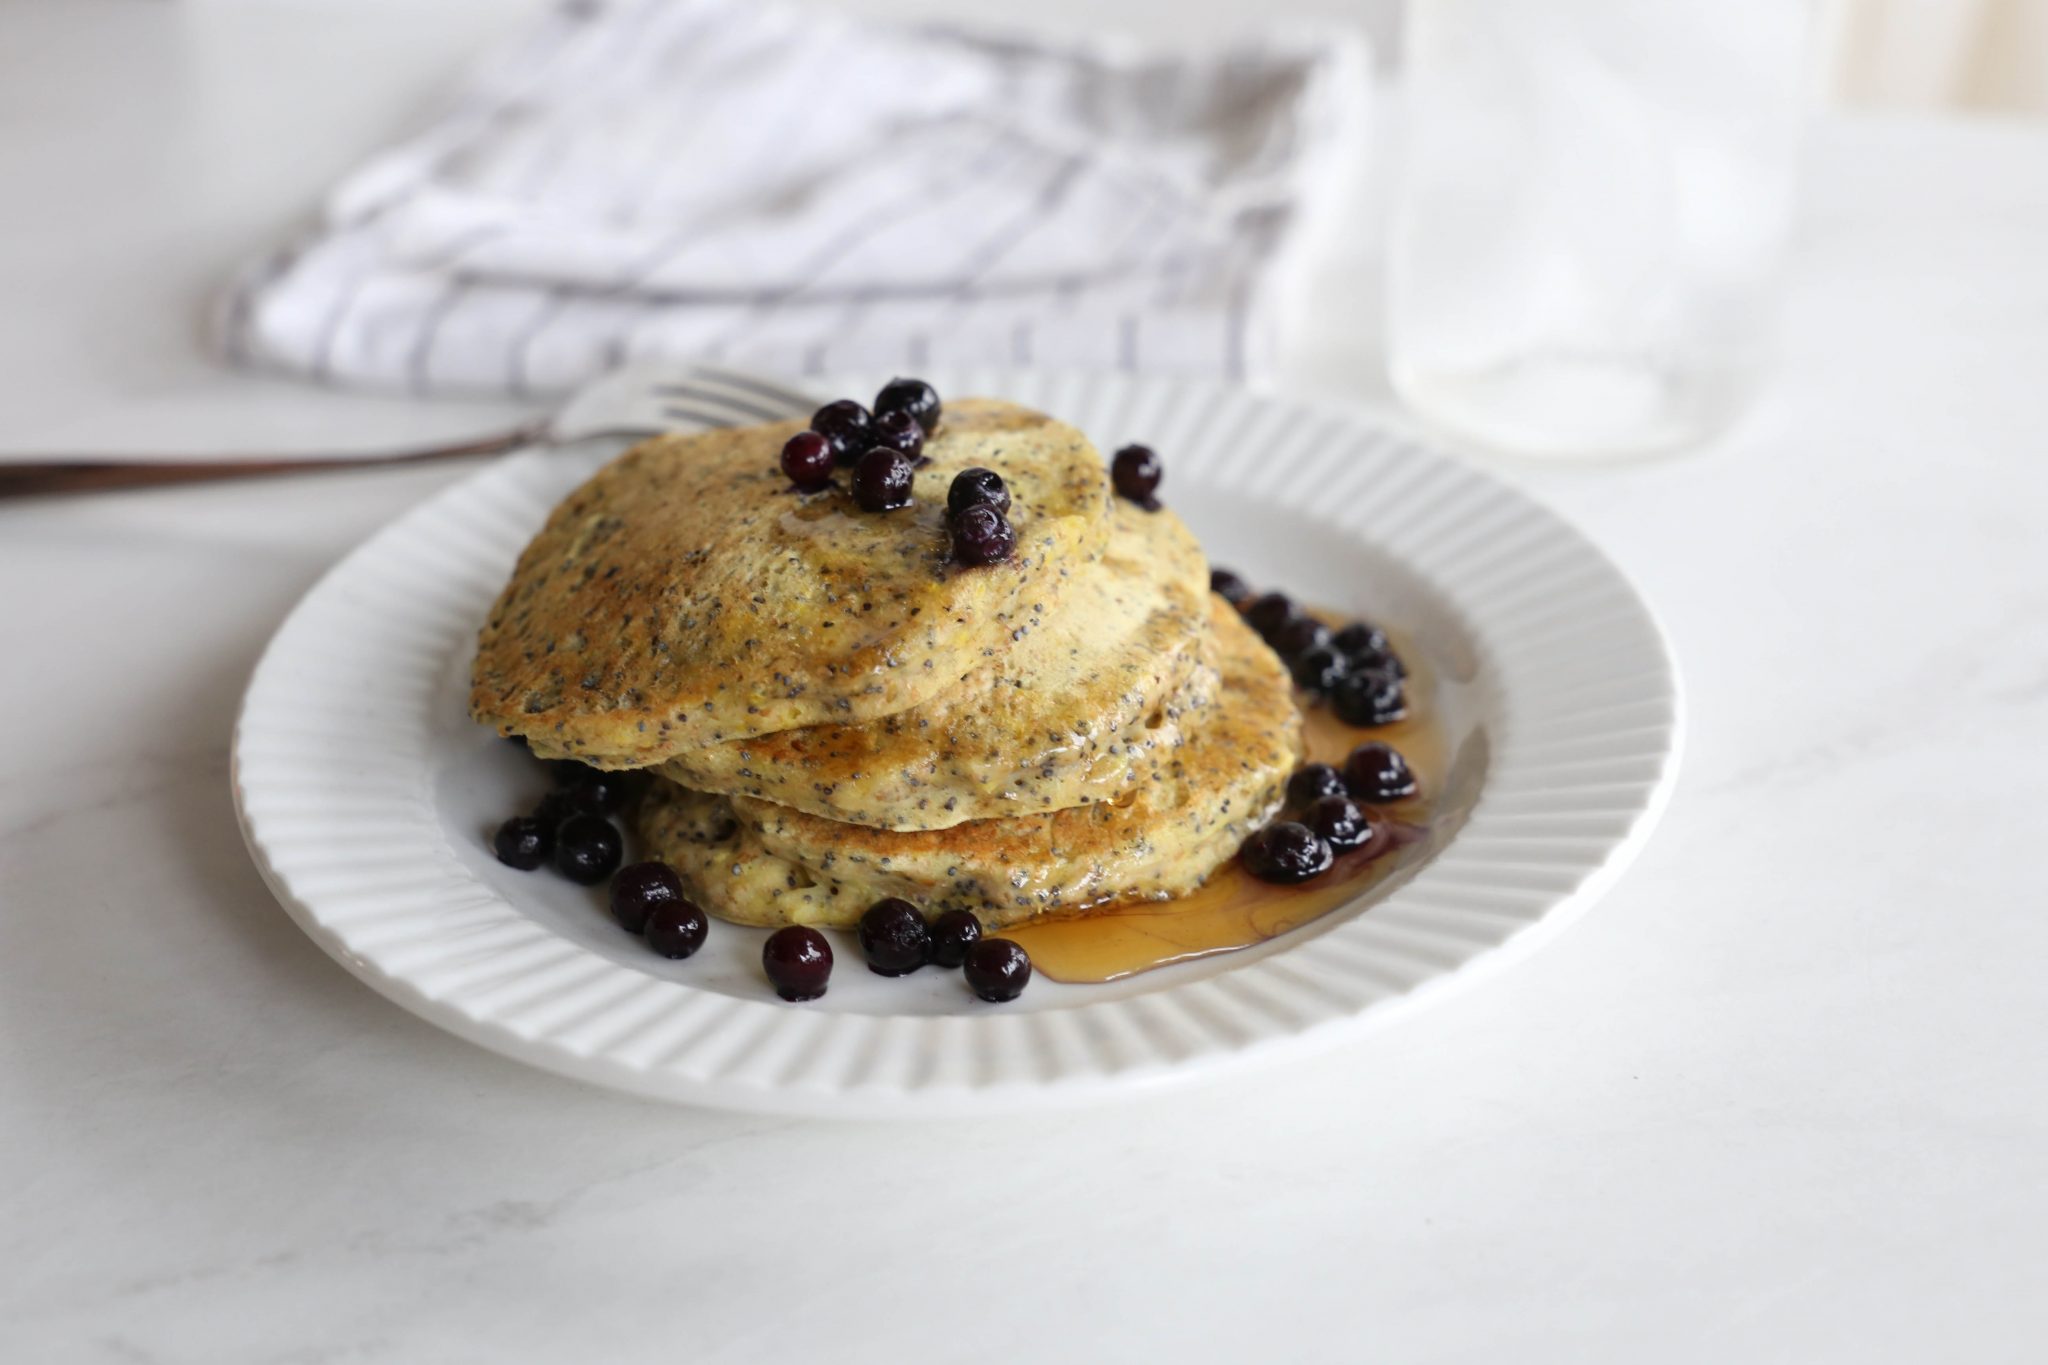

 ‘Tis the season for all things pumpkin, so today Grae and I decided to experiment with making a healthy, but delicious, pumpkin treat. I must say, we were definitely ‘winging it’, but our version of pumpkin spice muffins turned out great! They’re soft and moist inside, full of flavour, and perfectly sweet. Not to mention, they contain no white flour, butter/margarine, or refined sugar. Yay for that.
 Here’s our line up of ingredients… Wholewheat flour, organic old-fashioned oats, ground flax seed, walnuts, pecans, baking powder, baking soda, cinnamon, nutmeg, ginger, pure organic pumpkin puree, grapeseed oil, organic eggs, pure maple syrup, and pure vanilla.
 Of course, having a sweet little wispy haired sous chef helps too.
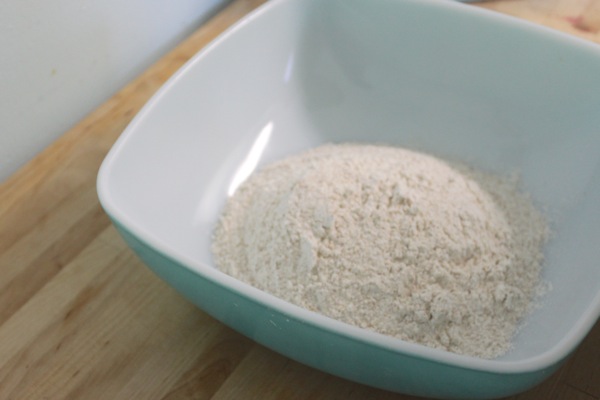 Start by putting the flour into a large mixing bowl.
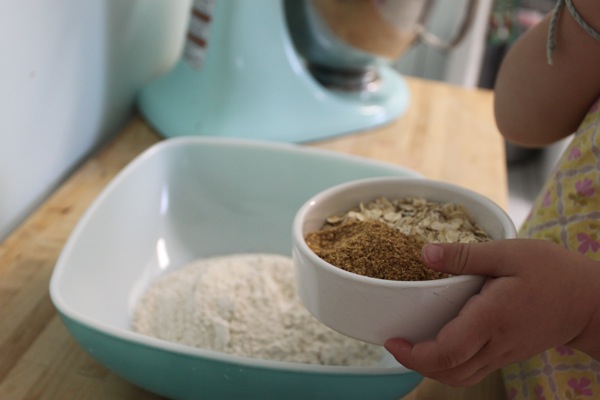 Add the oats and ground flax.
 Be sure to cram as many oats into your mouth as possible when no one’s looking.
 Next up, add the baking powder, baking soda, and spices.
 Give everything a good stir.
 In a separate bowl, pour in the pureed pumpkin.
 Add the maple syrup and vanilla…
 The grapeseed oil…
 And the eggs.
 Then give everything a good mix.
 Next, add the dry mixture into the wet one.
 Mix until just combined.
 Then add the nuts…
 And gently fold them into the batter.
 Prepare a muffin tin by lining it with silicone baking cups or a light layer of grapeseed oil.
 Fill the muffin cups almost to the top, but not quite, then pop them in the oven.
 Take them out once the tops are cracked and a toothpick comes out clean.
 Let them cool for a couple of minutes and serve to your very excited and very silly little munchkin.
 Here’s our line up of ingredients… Old-fashioned oats, pumpkin seeds, raisins, ‘just apples’ applesauce (we just used the store bought stuff this time around, but homemade would of course be better), ripe bananas, cinnamon, and organic coconut oil and vanilla (which somehow didn’t make it into the photo…)
 To start, my mini sous chef peeled our bananas and popped them into the food processor.
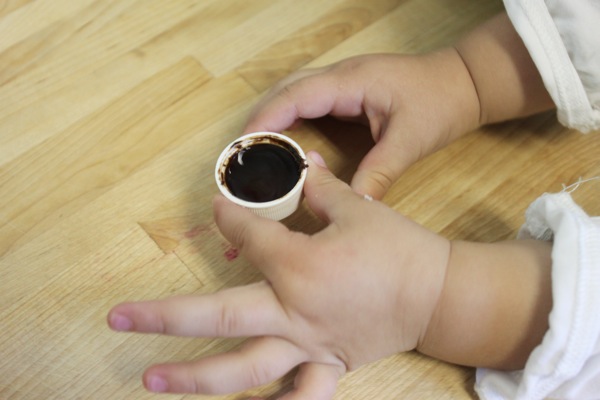 Then she added a capful of pure vanilla…
 A generous amount of applesauce…
 Some cinnamon…
 And a dollop of coconut oil.
 Then we blended everything up until it was mostly smooth, with just a few little chunks.
 With our wet mixture transferred into a large mixing bowl, Grae added some organic old-fashioned oats…
 Some raw pumpkin seeds…
 And some raisins…
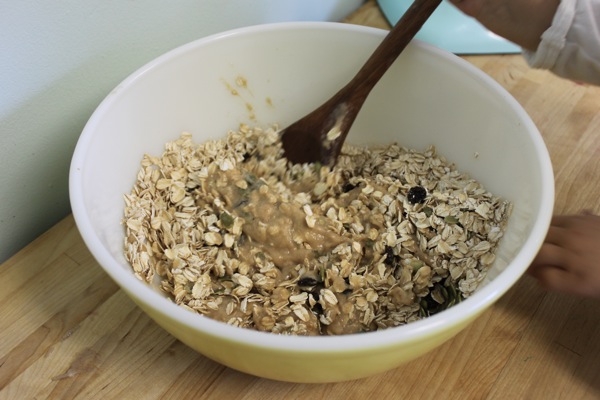 And gave everything a good stir.
 The result was oats that were completely coated in the banana/applesauce mixture, but not ‘wet’ or batter-y (if that makes any sense).
 We then dropped large spoonfuls of the mixture onto a parchment-lined baking sheet, using the back of the spoon to shape them into little mounds, and popped them into the oven.
 Fifteen minutes later, out came these soft, moist little oatmeal mounds. Now… Do they taste like a real cookie? No. Do they taste like a healthy bowl of cinnamon oatmeal compacted into a portable little serving? Yes! And the best part is that they’re not at all crumbly. To the point where I let Grae snack on these while in the Ergo on our recent house hunting adventures because I knew they wouldn’t crumble all over our potential landlords’ floors… Win!
 Here are the ingredients for our go to dough, adapted from the lovely
  First, sprinkle the yeast over the warm water and set it aside.
 Next, add the flour…
 And the salt to the bowl of your electric mixer. (This could be done by hand too, of course.)
 Put the paddle attachment on your machine…
 And give the dry ingredients a quick mix.
 Next, measure out the olive oil…
 And slowly pour it into the bowl while mixing.
 Next, give the yeast and water a quick stir…
 And with the mixer on, slowly add the yeast water to the flour/salt/oil mixture. Mix on low until the dough starts to come together in a sticky mass.
 Prepare a separate large mixing bowl by drizzling it with olive oil.
 Use your hands to pull the edges of the dough downwards and shape it into a ball. Place your dough in the bowl and gently toss it to coat it in olive oil.
 Now cover your bowl tightly with plastic wrap. It can be put in the fridge and stored for 3 or 4 days, or it can be used later on in the day. If we’re making pizza the same night, we just leave ours on the counter.
  Now, for my favourite… A very simple roasted veggie pizza. Chop up a bunch of vegetables of your choice (these are my favourites), drizzle them with a little bit of olive oil, and put them in a 400 oven for about 10 minutes.
 While they roast, grate some cheese (we use fresh mozzarella or, like tonight, an all-natural extra sharp cheddar) and slice some fresh mushrooms.
 Take your veggies out of the oven when they’re slightly soft and just beginning to turn golden in some spots.
 With your toppings ready, it’s time to retrieve the dough you made earlier in the day. By now, it should be well over double its original size and soft and spongy to the touch.
 Prepare a baking pan by lining it with parchment paper and sprinkling on little cornmeal (this is completely optional, but it does add a nice texture).
 Using 1/2 of the dough, press it down into a thin rectangular shape. Don’t worry too much about holes – just patch them up as you go along.
 For this pizza, we often use a fresh pesto sauce, which is really yummy. Equally delicious, however, is just a drizzle of olive oil and a tiny sprinkle of sea salt.
 Next, arrange the veggies on the dough {stuffing as many of the red peppers into your mouth as possible, if you’re like Gracen}.
 Top with cheese (adding some feta into the mix is really good too!} and pop it into the oven.
 Remove when the cheese is bubbly and the crust is golden brown and let cool for a few minutes.
 Now onto the one Brad prefers… A BBQ chicken pizza. Tonight we used roasted chicken breasts cut into small chunks, raw diced orange pepper and sweet onion, and some white kernel corn (adding jalapeños is really tasty too).
 Prepare your pan and dough the same way as before, then spread a thin layer of BBQ sauce onto the uncooked crust (this is one of Miss G’s favourite jobs).
 Add the toppings…
 Cover with cheese…
 And bake ’til golden.


 Now although we could have just mixed up our chopped fruit and eaten it as fruit salad, everything is better on skewers, right? Not to mention, making them was the best part – just look at that proud little face. Plus, they’d be great finger snacks for a play date or party… Or just as dessert for a mama and a babe. ☺


 Here’s our list of ingredients: Plain organic whole milk yogurt, frozen no-sugar-added strawberries and raspberries, a ripe frozen banana, a handful of baby beets, a few teaspoons of chia seeds, and some whole organic milk.
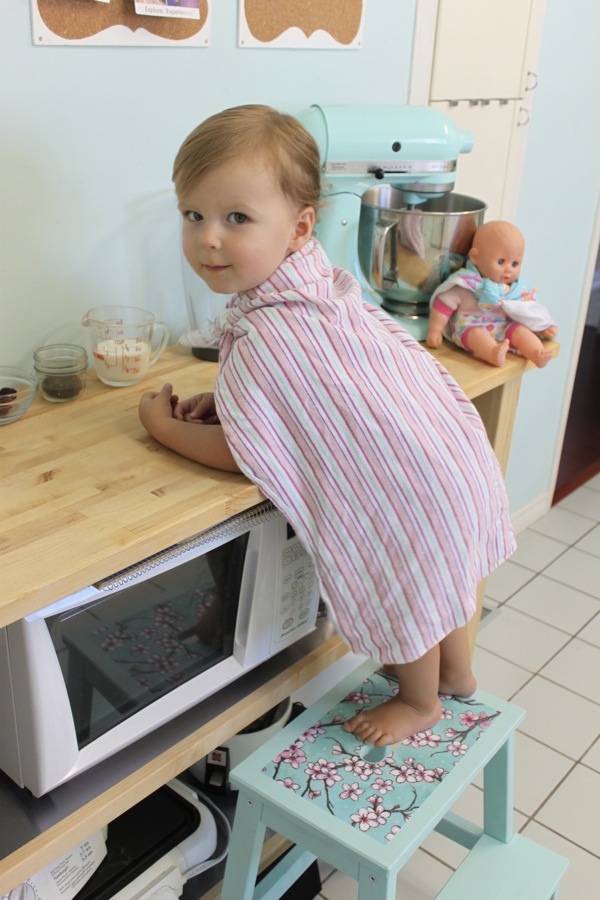 Another must for this recipe? Supergirl and her super girl baby.
 Get started by dumping your frozen berries into your blender. Closing your eyes makes for a better challenge. Nothing Supergirl can’t handle though.
 Chuck in your frozen banana. Again, amp up this step by trying it with your eyes closed.
 Next, add your beets in one. by. one.
 And then dump your chia seeds in too.
 Next, carefully add your milk. The more you can get into the blender, the better.
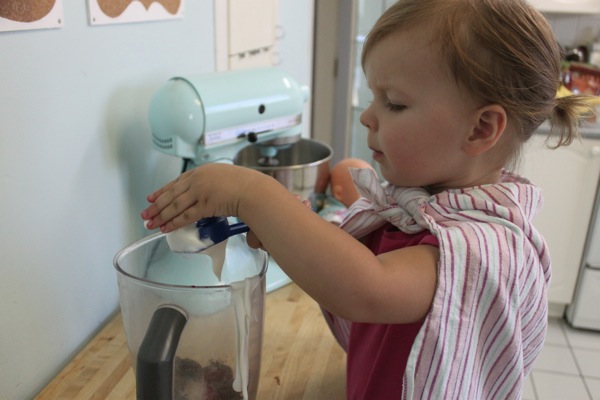 Lastly, add a generous scoop of yogurt.
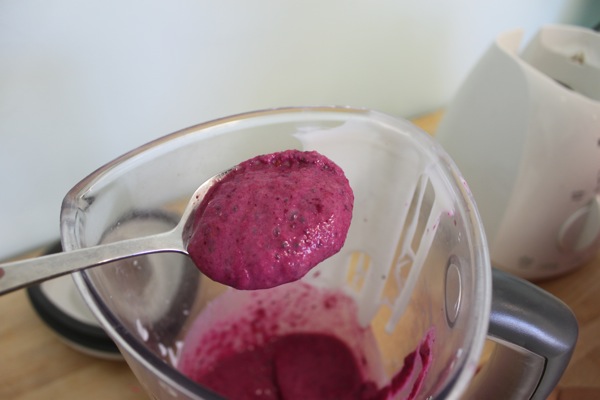 Blend everything up until thick and bright.
 Serve with a straw or a spoon. Or both.
 Watch your little superhero gobble it up.
 In addition to the blueberries, we gathered up some plain organic whole milk yogurt (with just a tiny touch of honey added), our new
  Gracen started us out by putting the blueberries into the food processor (at least the ones that were lucky enough to not be eaten).
 Then she added our yogurt and honey…
 And we blended it up for a decent amount of time. That’s it. Tout fini!
 With some help, Grae scooped a little bit of the mixture into each mould…
 Then snapped the lids on and into the freezer they went.
 Here they are.
  In the morning, peel a few bananas. (Grae loves this part.)
 Then slice them up.
 Place the banana coins on a parchment-lined baking sheet and pop them in the freezer for at least a few hours.
  In the afternoon, once they’re completely frozen through, take the bananas out of the freezer.
 Place approximately 1/3 of the banana coins into a good food processor.
  Mix through the chunky stage, past the crumby stage, and right into the smooth, soft serve texture stage. You may have to stop the processor once or twice to mix things up a little with a spatula, but it’s not always needed.
 Once the mixture is thick and creamy, stop the food processor and add a capful of good vanilla.
 Plus another 1/3 of the banana coins and mix to bring to a soft serve texture again.
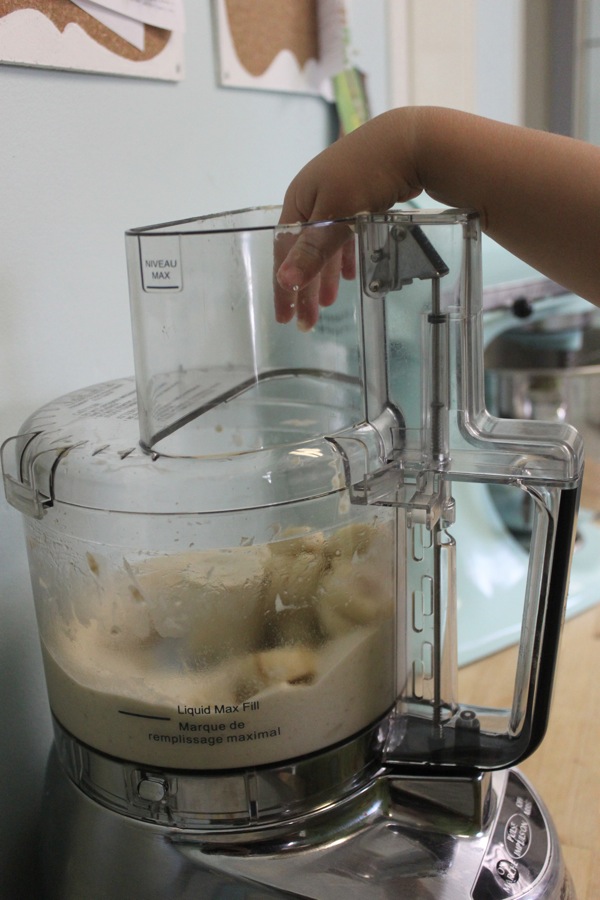 Then, add the last batch of banana coins and blend again. If you’re feeling like a vanilla-flavoured treat, you can stop here and serve immediately, or put the ice cream into the freezer for a while for a more hard ice cream texture.
 BUUUUUUT, if you want peanut butter and jelly neopolitan-esque treat, divide your ice cream into thirds, leaving one portion in the food processor. Place the two other portions in the freezer in the meantime.
 First up, make the jelly flavoured ice cream. Add a spoonful of no-sugar-added fruit preserves…
 And a few frozen strawberries.
 Then blend until smooth. Pop the berry ice cream in the freezer and give your work bowl and blade a quick rinse.
 Remove one of your vanilla-flavoured ice cream portions from the freezer, pop it in the processor, add a heaping tablespoon of all-natural peanut butter, and mix. When blended, transfer the peanut butter ice cream back into your bowl and pop it in the freezer.
 While you tidy up a tad, let your toddler ferociously lick the bowl and spoon.
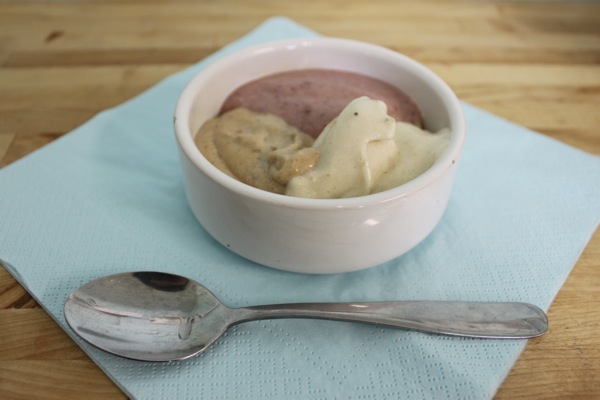 If possible, let your soft serve firm up in the freezer for 5 to 10 minutes. Or, if your toddler is like mine, serve immediately to appease the begs for “iceth cleam”.
 Enjoy!
 You’ll have to excuse our ‘vacation look’… Messy hair, no make-up and comfy clothes is the way to go when in relaxation mode. Plus, you don’t have to look nice to whip up a delicious snack, now do you? ☺
 And put it in a pot.
 Next, pour in a little water…
 And a capful of really good vanilla.
 Give everything a little stir…
 And pop it on the stove. Cover the pot and let the mixture simmer on medium low for the better part of an hour.
 When the fruit is nice and soft, remove it from the heat.
 After it’s cooled for a few minutes, arm your little one with giant oven mitts and get mashing.
 Eat it while it’s still warm, or transfer it into a mason jar and store in the fridge for later.
 Here is everything you need to whip up a batch of your own… A bowl of strawberries (washed and hulled), plain organic full-fat yogurt (the thicker the better), a food processor (or good blender), and some popsicle moulds (these are my makeshift moulds that I love because of their small size – cheap containers with slits cut in the lids). Ooh – and a spoon. Can’t leave that out.
 Get started by putting your strawberries into your food processor.
 Let them mix until they start to turn into a puree. You can stop while the mixture is still chunky, or blend a little longer for a smoother texture, depending on your child’s preferences.
 Take a little taste. If desired, you can add a touch of pure maple syrup or honey at this point and then mix again, but Grae’s enthusiastic “Mmmmmm” and request for more told me that ours was plenty sweet. (Keep in mind that the finished product will be slightly more tart.)
 Transfer your strawberry puree into a measuring cup for easy pouring.
 Now you’re ready to put the popsicles together. Start by adding a little scoop of yogurt into each mould. (We used plain yogurt because it’s what Gracen is used to eating, but if you don’t mind the added sugar, you could easily use a vanilla, honey, or berry flavoured yogurt. If possible, try to pick a thicker yogurt as it will make the ‘layering’ easier. Greek yogurt would be perfect.)
 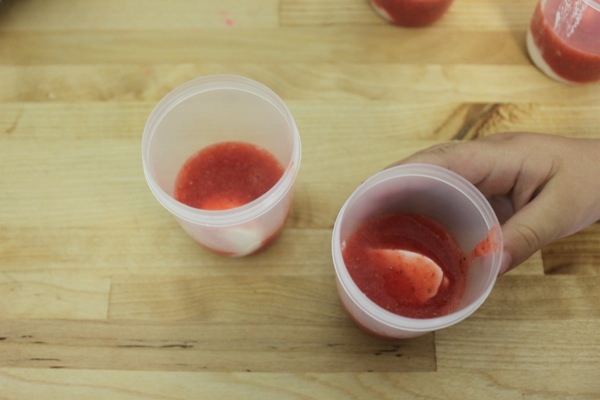 Next, cover the yogurt with strawberry puree.
 Then add another spoonful of yogurt.
 Continue layering until your moulds are nearly full.
 Secure the lids onto your moulds and add the popsicle sticks (if needed).
 Done! Place your strawberry creamsicles into the freezer overnight (or at least for a few hours)
 And now for the best part – let your munchkin slurp up the remaining strawberry juice if there is any. Yuuuuum.