This afternoon my little sous chef and I gathered a few simple ingredients and got to work on making one of my recent ‘pins‘ – baked zucchini chips.
To get started, we got out a couple of small zucchinis, wholewheat bread crumbs, freshly grated parmesan, ground flax, dried basil and oregano, garlic powder, ground black pepper, cayenne, sea salt, wholewheat flour, milk, and some organic raw apple cider vinegar.
 First up, we worked on our dry mixture. In with the breadcrumbs…
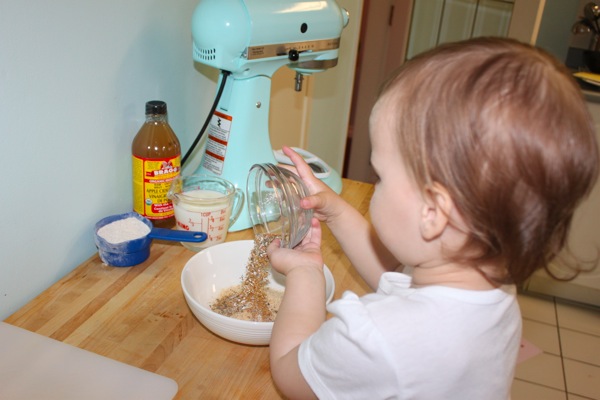 Then the flax, herbs, and spices…
 And then the fresh parmesan.
 Gracen gave it all a good mix and it was ready to go.
 Next, we worked on the wet mixture. And let me tell you, things got wet. Oopsies. Like they say, don’t cry over spilled milk.
 Mess cleaned up, we continued on our way by adding some wholewheat flour to the milk.
 And then just a little apple cider vinegar.
 Then Miss G gently stirred it up into a thin paste.
 With our wet and dry bowls ready to go, we began the dipping process. First the zucchini slices got dipped into the milk/flour mixture…
 And then into the breadcrumb mixture. (Grae loved this job.)
 Once they were nicely coated, we placed them on a baking sheet lined with foil. (Note to self: Must buy more parchment paper.)
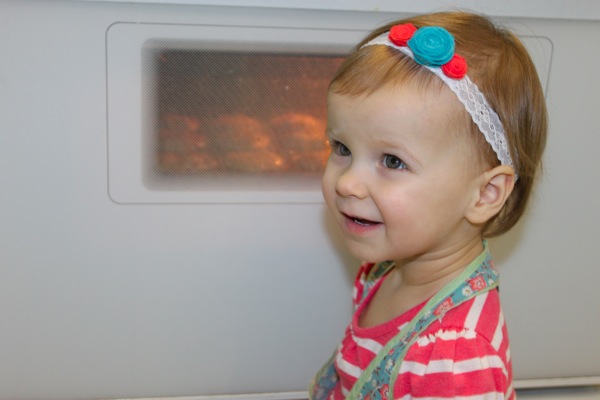
 As you can see, things got a little messy, but such is cooking with an enthusiastic one-year-old assistant.
 With our baking pan crammed full of coated zucchini coins, we popped them in the oven to bake for a bit.
 In the meantime, my little helper and I cleaned up. ☺
 Thirty minutes later, our zucchini chips were ready! We added them to a plate with wild rice, chicken, and steamed broccoli, and dinner was served.
If you want to make some zucchini chips of your own, we followed this recipe fairly closely. Here’s our slightly modified version:
- 1/2 cup of wholewheat breadcrumbs
- 1/2 cup of freshly grated parmesan
- 2 tablespoons of ground flax seed
- 1/4 teaspoon of garlic powder
- 1/4 teaspoon of dried basil
- 1/4 teaspoon of dried oregano
- 1/4 teaspoon of cayenne pepper
- 1/4 teaspoon of black pepper
- 1/4 teaspoon of sea salt
- 1 cup of milk
- 1 heaping cup of wholewheat flour
- 1 teaspoon of organic raw apple cider vinegar
- 2 small zucchinis, washed and thickly sliced
Preheat oven to 425 degrees. Mix the breadcrumbs, cheese, flax, spices, and herbs together in a small bowl. In a separate bowl, mix the milk, flour, and vinegar together.
Dip the zucchini slices into the wet mixture first, and then dredge with breadcrumb mixture. Place coated zucchini coins on a lined baking pan.
Bake for 30 minutes, flipping once half way through.
Enjoy!
*Note: When we were done, we had A LOT of our wet mixture leftover. In order to avoid being wasteful, I would cut that part of the recipe down by half in the future.


 First up – the banana almond yogurt pops! Gracen popped a couple of frozen bananas into the blender to get us started.
 Then she added some all-natural almond butter.
 And a generous amount of whole organic plain yogurt.
 We decided to add in a little sprinkling roasted ground flax seed at the last minute too…
 Then we blended it all up.
 And poured it into our little containers (I’ve been searching for mini popsicle molds for a while now, but haven’t had any luck… This is my interim solution).
 Miss G was pretty stoked at the fact that there was a little left over. Mmmmmm!
 No need for a blender with these ones… Grae started us off by putting some yogurt into our bowl.


 And then Gracen mixed it all up.
 And we poured it into the remaining containers.
 We put on the tops, popped in some wooden popsicle sticks, and put them in the freezer. Tomorrow we shall see how they taste!


 First off, our ingredients… Fresh baby spinach, green grapes, honeydew, a frozen ripe banana, a green apple, and coconut milk.
 Start off by putting your frozen banana into a blender.
 Add your apple chunks.
 Be sure to stop and take a bite.
 Dump in your honeydew.
 And then pour in your grapes.
 Next, fill up your blender with fresh baby spinach.
 And pour in some coconut milk (or your preferred type of milk).
 Pop on the lid…
 And blend until bright green and smooth.
 Pour into glasses (or sippy cups).
 Enjoy!
 This afternoon Gracen and I whipped up a quick and delicious snack that I


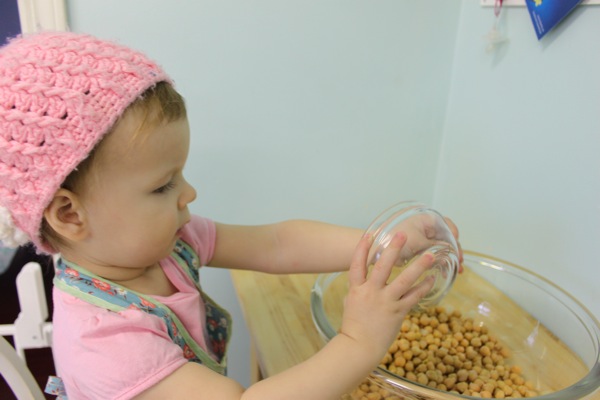


 It’s been a little while since I baked something with the help of my little sous chef, so this morning we got to work and tried making some healthy, wholewheat, low-sugar biscotti. First things first, we gathered our ingredients: wholewheat flour, raw almonds, organic dried cranberries, baking powder, sea salt, pure maple syrup, pure vanilla, pure lemon extract, and eggs.
 Then it was on to our dry ingredients. As always, I measured and Miss G dumped. Her aim is not always spot on, but boy, oh boy, does she ever love this part. In with the flour.
 Add the baking powder and sea salt.
 Chuck in your almonds.
 And your cranberries.
 Next, on to the wet ingredients. Crack your eggs and pour them into a separate bowl.
 Add the maple syrup, vanilla, and lemon extract.
 And give it a good whisk.
 Now for the combining. FIrst, give your dry ingredients a little mix.
 Then slowly add your wet ingredients into the dry ones.
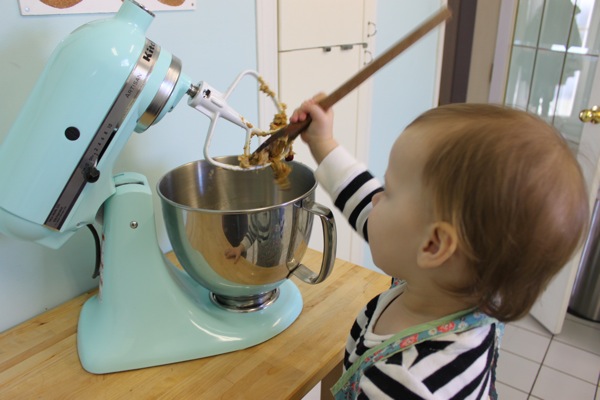 Mix just until combined and scrape your attachment clean.
 Plop the sticky dough onto a parchment-lined pan.
 With very well-floured hands, gently pat your dough into a rectangular shape about 1 inch thick.
 Then pop it into the oven and bake.
 While you wait, clean up and then have a tea party.
 Or play with a tray of ocean items.
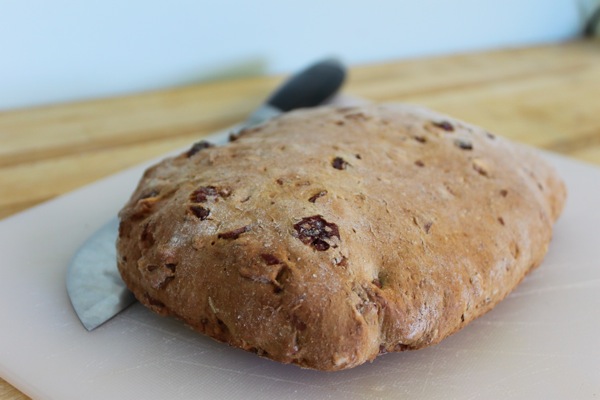 When risen and golden brown, take your loaf out of the oven and let it cool for about 10 minutes.
 Once cooled, carefully cut into thick slices.
 Place the slices back onto your pan, pop it in the oven, and go for a walk around the block.
 Come home to a delicious smelling house and fully baked biscotti.
 Enjoy!
 Here’s what you need: Some flour, salt, cream of tartar, vegetable oil, water, food colouring, and a cute little sous chef to help you along the way.
 First things first, pour your water in a large pot.
 Next, add your salt. Preferably into the pot. But hey, whatever works.
 Then, add your cream of tartar.
 And your food colouring. (Of course for this little one, purple was the colour of choice.) Give everything a little stir.
 Then, over medium heat, warm the mixture until hot, but not boiling.
 When hot, add your oil and your flour, cup by cup.
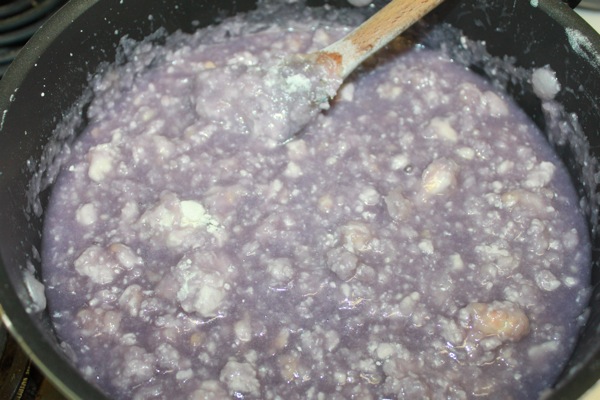 Don’t worry if it looks all chunky and gross. We’ve used this recipe several times and we’ve always experienced this stage. It’ll all work out in the end.
 When you’ve added all of the flour, give the dough one final stir and plop it out onto a well-floured counter. Sprinkle some extra flour on top if the dough appears sticky. Be careful – it’ll be very hot still.
 Once it’s cooled, kneed the dough well, incorporating all of the extra flour.
 Then give your munchkin a chunk and let her go to town.
 Fun for hours!
 Next, we added a drizzle of olive oil and an egg.
 Then Grae mashed like mad.
 When the chickpeas were good and mushy, Gracen added in our fresh ingredients – carrots, zucchini, sweet onions, garlic, green onions, and fresh cilantro.
 Then we added the dry ingredients – wholewheat flour, cornmeal, black pepper, sea salt, curry powder, and garam masala.
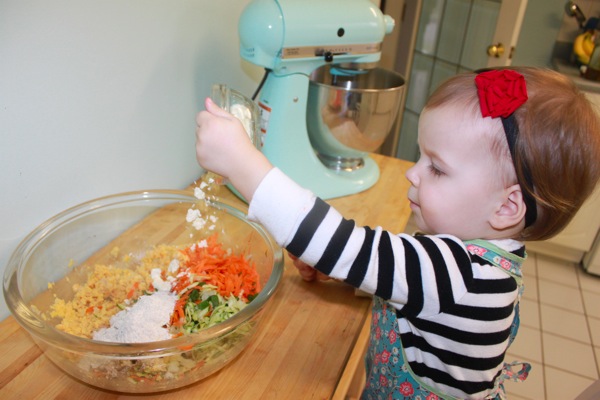 And just for fun, today we tossed in a little feta.
 That’s it. Then my little sous chef mixed, mixed, and mixed some more until all of the ingredients were evenly distributed.
 Then we formed them into patties.
 And popped them in the oven. And while those baked, we started on our next dish…
 First off, Miss G added our fresh veggies to our already cooked quinoa.
 Of course she stopped to steal a few big chunks of avocado in between handfuls.
 Then we added a little drizzle of olive oil…
 And generous drizzle of the Okanagan’s own,
  Then Grae mixed it all up.
 Of course Grae gobbled it up like we hadn’t fed her in a week! Hopefully a vitamin-packed lunch will help her fight this little bug that seems to be pestering her. Recipes below. :)
 First things first… Gracen measured out our old-fashioned oats.
 Then she added the almonds, pumpkin seeds, sunflower seeds, sesame seeds, ground flax, wheatgerm, and quinoa flakes.
 And enthusiastically shook in the unsweetened coconut.
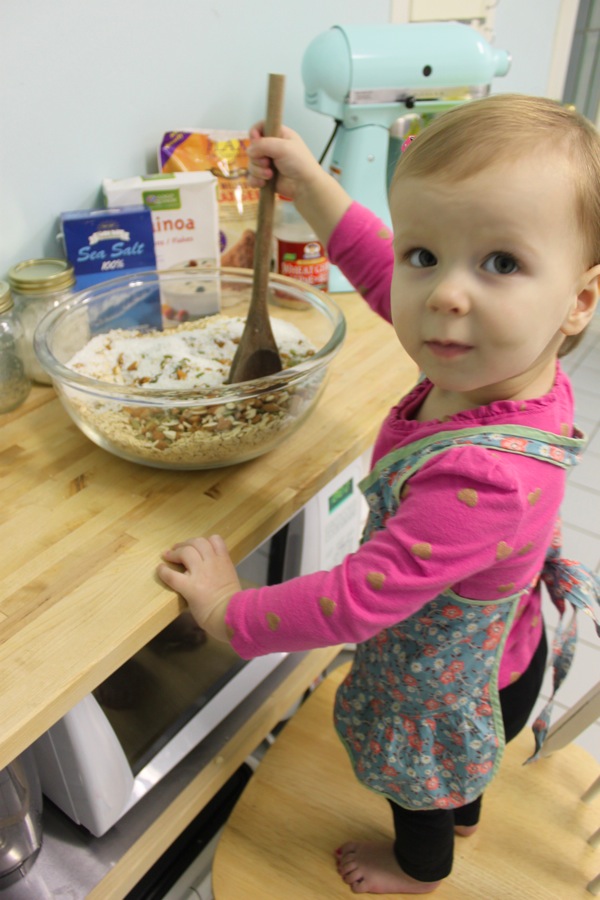 That was it for dry ingredients. Then it was time to stir, stir, stir. (Don’t mind Grae’s bruised cheek – the poor little thing had a fall a couple of days back.)
 On to the wet ingredients and spices! In a separate bowl (or in our case, measuring cup), we added and mixed together our applesauce, pure maple syrup, olive oil, cinnamon, ginger, and salt.
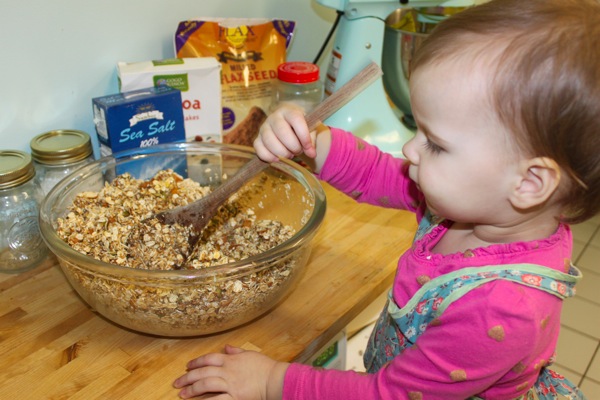 This part is the most fun. We added the wet ingredients to the dry and Grae went on a stirring frenzy.
 When everything was evenly coated, we dumped the mixture out on two large baking sheets, spread it out, and drizzled on just a touch more olive oil before popping both pans into the oven.
 Gracen was our official granola watcher and I was the official granola flipper. We make a pretty good team. :)
 And after about 45 minutes in the oven, we took it out to cool on the counter. Voila! Done.
 Gracen patiently waited for dinner to be made, ate up her portion, and then moved on to her anxiously-awaited dessert course – yogurt with granola and dried fruit!
 Apparently it was so good that it disappeared more quickly than she was prepared for.
 Be warned – if you try this recipe, licking leftovers off of your sleeve is a total possibility.
 This morning Gracen helped me make one of our favourite ever breakfast dishes – Lottie + Doof’s baked oatmeal. (You can find the recipe
  We normally make it with blueberries, but this morning we decided to switch things up a little and made it with raspberries instead. Naturally, Gracen was the designated taste tester.
 After all that hard work in the kitchen, this little lady ate and then asked for a washcloth. I gave her one and found her below her chair a few minutes later “cleaning up” her mess. :)
 We got some great news this morning and fresh muffins were needed for the occasion, stat.
 Gracen’s becoming a pro at muffin making.
 The secret ingredient in this recipe? Whole greek yogurt!
 The highlight for this little object transferring fiend? Moving the blueberries, one by one, from the plastic container into the bowl.
 Baking is just so much fun!
 Prepping the pan is Grae’s specialty.
 Next step? Sprinkling cinnamon sugar on the muffin tops!
 In the oven they go.
 While waiting, my little baker kept busy at the gorgeous easel she got from her Uncle Gary for Christmas.
 ‘They’re reeeeaaaady, Mama!’
 The finished product ready to be packed up and taken to our friends (explanatory post coming soon!)
 This morning’s activity involved baking a fresh batch of healthy muffins for the week. Baking with a very busy baby isn’t always easy, so I try to have my ingredients {roughly} measured out before we actually get started. I find that it’s just easier if Grae can stay involved with the dumping and mixing and not have to wait for me to fetch and measure ingredients.
 Today we sat on the floor next to the lazy susan and measured out the dry ingredients together and then she did this while I quickly gathered the wet ones. There’s nothing like a little bowl of almonds and a drink to keep this little munchkin happy.
 When I had everything out and ready, it was time to get to work. First, Grae gave the dry ingredients a little stir by hand.
 Then she added the walnuts.
 In they go! This may not be the fastest way of doing it, but I always try to let her do it her way first and then help her dump the rest in afterwards.
 In with the milk and olive oil.
 And now for the egg…
 In it goes.
 Then the fun part. Adding the shredded carrot and zucchini!
 She quite liked this step at first, but she didn’t love that her little hand was covered in grated carrot in between handfuls.
 Once everything was in the bowl, it was time to let the mixer do its job. Grae held the bowl, just in case. :)
 This was the point when Miss G realized that she could see her reflection on the side of the stainless bowl. Too funny!
 With the batter finished, it was time to brush our muffin tin with olive oil.
 Gracen waited patiently while I scooped the batter into the cups and then she sprinkled some cinnamon on the tops of the muffins.
 Oops. The result of overly enthusiastic cinnamon shaking.
 The final step was placing a pecan on each muffin top.
 Of course, Grae wasn’t shy about shoving some in her mouth when she got the chance.
 With the muffins in the oven, it’s now time to wait…
 Gracen made sure to check on them part way through.
 They’re done!
 Here’s the end result. You know how you sometimes bake some healthy and then end up eating it because you know its good for you and not because it actually tastes good? Well not these! They are actually really delicious.
 Not to mention, they’re kid approved. Gracen loves them!