 Knowing Grae’s love of popsicles, my mom sent her home from the Okanagan with a couple of new popsicle mould sets the other day. While I knew she’d be excited, what I wasn’t expecting was for two new popsicle moulds to keep her happily playing in her rear-facing car seat for at least 1/2 of our 7 hour drive home. She was so engaged with them that Brad actually said, “Well I know what we need to bring on the plane to Kuwait.” (If you’re travelling through Germany in August and see a woman with popsicle mould parts clumsily falling out of her purse, that’ll be me.)
 When we got home and I started thinking about fun play opportunities for the week, I thought it would be fun to try to set up a popsicle-themed pretend play station. Of course, the first thing that came to mind was making the pretend pops out of ice, but I wanted something a little different. Enter gelatine. With a fun texture that can be jiggled, squished, and crumbled, I knew it would be a hit.
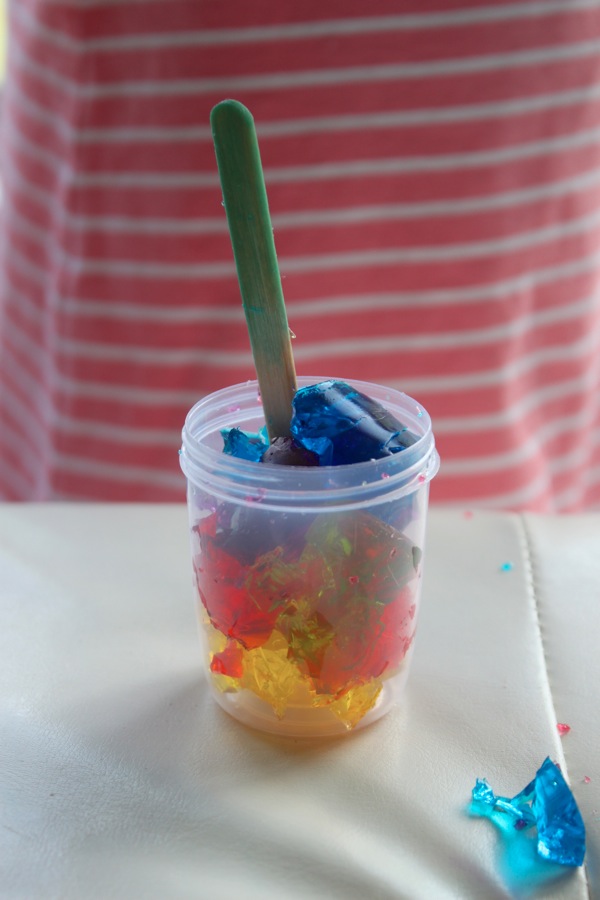
To make the pops quite sturdy, I mixed up 3 packets of Knox unflavoured gelatine with 3/4 of a cup of boiling water, then added 3/4 of a cup of cool water once the gelatine had been dissolved. I popped a few drops of liquid food colouring into each of my popsicle cups, poured the gelatine mixture in, mixed it up, and put the faux popsicles in the refrigerator over night.
 This morning while we were preparing breakfast together, Miss G immediately noticed the rainbow coloured popsicles in the fridge and asked if they were for playing with. Let me tell you, this girl doesn’t miss a thing. She patiently waited until after our morning outing, lunchtime, and her nap, and I had this little set up ready ready for her when she woke up.
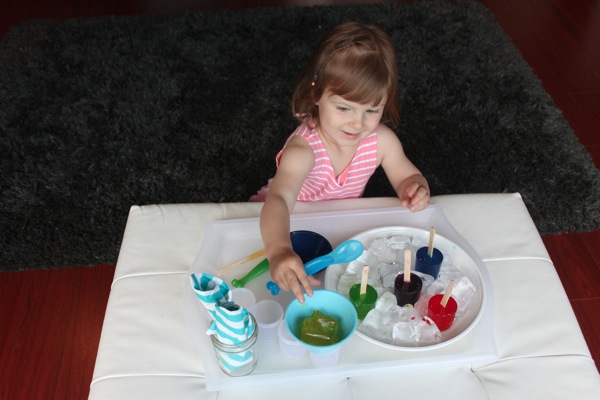 She was delighted to see it and immediately asked, “Are these just for playing, Mama? Or are they for eating?” With the fact that they were for playing with cleared up, she began naming the flavours – my favourite of which was tomato soup (the red one). Then she began doling out the treats in bowls with spoons, as she often likes her popsicles.
 Next up, all of the popsicles went back into their moulds and got put into her pretend freezer. Then she took them out, one by one (with the help of a spoon and some serious shaking) as though she were filling customer orders.
 For the customers who preferred to eat their frozen treats from a bowl rather than a stick, she happily crumbled the popsicles up. As you do.
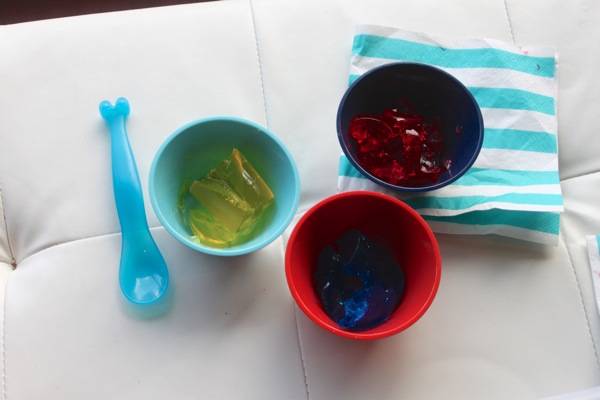 There was lots of play with the popsicles in their smushed up state…
 Then she moved onto making rainbow pops. Because I mean, who wants only one flavour when you can have several, right?
 And then there was soup. Oh, was there ever. Soup stirred so enthusiastically that bits flew out of the bowl and landed in various spots around our living room.
 I’d say pretend popsicles were a hit, wouldn’t you? A colourful, messy, joyful hit.
♥
For extra fun, like us on Facebook here and find us on Instagram here.
 First of all, we retrieved a few buckets of ocean water and created a little plot of firm, mouldable sand. You could easily do this project near the shoreline where you normally find perfect sandcastle sand, but since the tide was high and the shoreline was littered with seaweed and shells, we opted for this method instead. (You can also do this project at home by mixing play sand water in a baking pan or shallow dish of some sort.)
 Next, using the bottoms of our sand buckets and a plastic cup, we made several wells in the sand approximately 1 to 2 inches deep. (You can also use drift wood, feet, hands, and beach toys to make wells of different shapes and sizes.)
 Then, using shells we collected around the beach, as well as a few glass stones we brought from home, we created designs and patterns in the bottoms of the wells. One thing we did learn about this is that in order to show up well in the finished product, the decorations need to be pushed down quite firmly into the sand – otherwise they just get completely buried in plaster. (At this stage, you can also use your finger or a stick to draw designs in the wells. Just remember that if you choose to write something, you need to write it backwards so that it faces the correct way on the cast.)
  Next, using a container from home, a couple of cups of plaster of paris powder (readily available at art supply and hardware stores), some ocean water, and a piece of drift wood, we mixed up our plaster according to the directions on the box (2 parts powder, 1 part water).
 Then we filled our wells almost to the top. At this point, we experimented with adding a couple of straws to two of the wells in order to have a hanging hole at the end. Turns out, it worked great. The only thing we’ll do differently next time is add the straws before the plaster (much easier when you can see the stones and shells, rather than digging around trying to avoid them ☺).
 Easiest step? Playing and eating snacks while waiting for the plaster to set.
  After about 30 minutes, I gently poked the plaster to find out that they were dry and hard, so I gently scooped up one of the casts, along with some of the sand below it. Sure enough, it was fully solid. Grae helped me scoop up all of the casts and place them gently in a bucket.
 Next, we took the casts down to the ocean for a quick bath to remove the excess sand.
 Here’s what we ended up with.
 These two are Grae’s favourites… The octopus was made with the bottom of one of her