
The very first thing you do when gifted several pounds of zucchini? You make healthy chocolate zucchini muffins of course! The *very best* healthy chocolate zucchini muffins that are also vegan, naturally sweetened, and made with whole grains, that is. {WINNING.}

Just check these beauties out, will you? I don’t know if this photo does their size any justice, but they’re huuuuuuuge.

And begging to be turned into these insanely good chocolate zuchinni muffins by Relishing It. For real, they taste more like cake than any other muffin I’ve eaten before. Insanely good. We’re talking by far the very best healthy muffin I’ve ever tasted… To the point where I regularly pass them off as chocolate birthday cupcakes {and even our pickiest little guests gobble up TWO}.
Now here’s my public service announcement… If you’re just a regular person wanting a regular healthy muffin recipe, pop over to Laurie’s post and make them exactly as she tells you to. They’re absolutely perfect as is – no need to change anything.
Now if you’re like me and are attempting to minimize the amount of animal products your family consumes, try our version below. They’re every bit as delicious, but they don’t contain the egg or honey, which makes them healthy, whole grained, naturally sweetened, and VEGAN.
 {this post contains affiliate links}
Here’s our line up of ingredients… First up, whole wheat pastry flour. Every bit worth the effort it takes to find, in my opinion. In Kuwait we used this one by Bob’s Red Mill and in Canada we use one from Nature’s Fare. Whole Foods stocks whole wheat pastry flour too and my guess is that it is decent. Next, cocoa powder, baking soda, baking powder, sea salt, and dark chocolate chips that are optional, but delicious. The wet ingredients include coconut oil, flax ‘eggs’ {which is just ground flax seeds and water}, and vanilla, and of course you’ll need the zucchini too.

The most important part of any baking session though? Little helpers. Little helpers who undoubtedly make the process longer and messier and way more fun.

Here’s how this recipe goes down… First, measure out the dry ingredients and whisk them together well.

Then in a separate bowl {we use a big glass measuring cup}, measure out the wet ingredients and give them a good whisk before adding them to the dry mixture.

Lastly, add in loads of finely grated zucchini that will pretty much just disappear during the baking process and leave you with the cake-iest, most delicious muffins ever.

Gently stir it in…

And then enlist your little ones’ help to prep the muffin tin {silicone muffin liners like these are the BEST} and divide the batter evenly between the 12 cups.

Patiently wait as they bake….

Let them cool for a couple of minutes…

And dive in!

SOOOO good. {Find Sam’s construction spoon here.}

So good that we almost always make a double batch – otherwise they disappear too quickly.

The Very Best Healthy Vegan Chocolate Zucchini Muffins (adapted from this recipe on Relishing It)
- 2 tablespoons of ground flax seed
- 6 tablespoons of warm water
- 1 cup of whole wheat pastry flour
- 1/2 cup of cocoa powder
- 1 teaspoon of baking powder
- 1 teaspoon of baking soda
- 1/2 teaspoon of sea salt
- 1/2 cup of coconut oil {in its liquid state}
- 1/2 cup of pure maple syrup
- 1 teaspoon of good vanilla
- 1 1/2 cups of finely grated zucchini, deseeded if necessary
- 1/2 cup of dark chocolate chips
Preheat your oven to 350 degrees.
In a small bowl, measure out the ground flax seed and warm water. Stir to combine and set aside to thicken. {This mixture is two flax ‘eggs’.}
In a large bowl, add the flour cocoa powder, baking powder, baking soda, and sea salt. Whisk until thoroughly combined and sprinkle the dark chocolate chips on top.
In a separate smaller bowl, whisk together the liquid coconut oil, pure maple syrup, and vanilla.
Add the liquid mixture and the flax eggs into the dry mixture and gently mix until almost combined. Add the finely grated zucchini and give the mixture a few more gentle stirs. {A word on the zucchini… If you pre-grate your zucchini like we usually do, by the time you go to use it, there will most likely be some liquid that has drained off. No need to include this. Simply pick up the zucchini by the handful, allow it to drip over the bowl for a few seconds, and then add it to your mixture, tossing out any liquid that’s left in the bowl afterwards. Do not squeeze your grated zucchini dry before adding it… The moisture from the zucchini is what makes these muffins so dang good.}
Line your muffin tin with silicone muffin liners and distribute the batter evenly amongst the cups. Bake for approximately 20 – 25 minutes, or until a wooden toothpick comes out clean.
Remove the muffins from the oven and allow them to sit for several minutes before removing them from the pan and placing them on a cooling rack.
These will last for several days in an air-tight container on the counter, but because of there high veggie content, I pop them in the fridge if they’re going to be around longer than a few days.

Are you following us on social media?
Find us on: Facebook | Instagram | Pinterest | Twitter
We’d love to have you!


 Oh my goodness… Miss G is absolutely obsessed with these chocolate almond bliss balls. Seriously. She begs for them like they’re candy and when you give her one? Her eyes light up like it’s Christmas morning. I love them too – they’re delicious, easy to make, and make for a great portable snack to throw in my purse or into our carry-on when travelling.
 Amidst our packing frenzy, the figs on our lovely backyard fig tree have decided that now is the time to become perfectly ripe. This poses a problem for a few different reasons…. 1) The tree is big and old and produces a TON of fruit, 2) I’m the only one in our family that truly enjoys fresh figs, 3) Keeping up with the daily picking of the fruit is time consuming, and 4) If I don’t keep up with the picking, our backyard becomes a sticky mess filled with wasps.
 Gracen loves fruit leather, and though it can be a little intimidating if you’ve never made it before, it’s truly one of the easiest, most forgiving things to make. And no special equipment is needed! If you have some fruit, an oven, a baking pan, and some parchment paper, you can easily make your own fruit leather at home.
 I’ve made several batches of this stuff already, and it’s getting eaten up like nobody’s business! Plus I’ve changed my method a little bit and it’s now even easier for me to make my own fruit leather. Here’s how to do it…


 This happened tonight… Miss G’s first ever ice cream cone. And oh my goodness, did she ever love it. Before we knew it, all that was left was sticky fingers and a drippy chin and dress.
  With 1/2 a crate of mango in the fridge and our supply of
  Here’s our lineup of ingredients… Pineapple chunks (we used frozen because it’s what we had on hand, but fresh would be even better), mango chunks, a lime, one ripe banana, coconut milk, and Grae’s addition – unsweetened shredded coconut.
 We began by juicing our lime and threw both the juice and the pulp into our food processor…
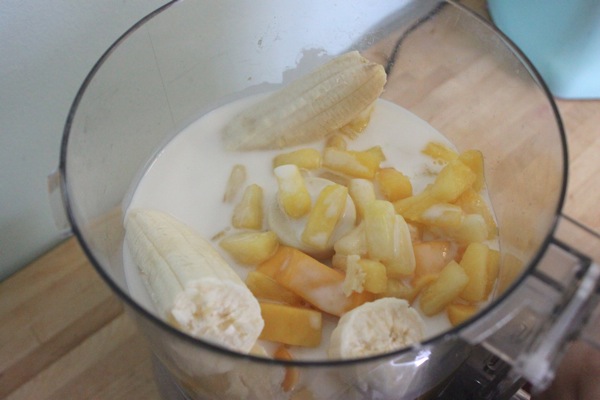 Along with everything else, except the shredded coconut.
 Then we blended everything up until completely smooth while this little monkey gave our food processor some love.
 Next, we added the shredded coconut and gave the mixture just a couple of pulses to mix it in. At this point, we had a little taste test and decided to add in a teaspoon of good honey because our mango was very tart (totally optional, of course).
 Now while it does mean dirtying another dish, I always like to pour our popsicle mixture into a large measuring cup before filling the moulds. It’s so much easier and quicker than clumsy me attempting to pour straight from the food processor. Of course, if you use a blender, this won’t be an issue.
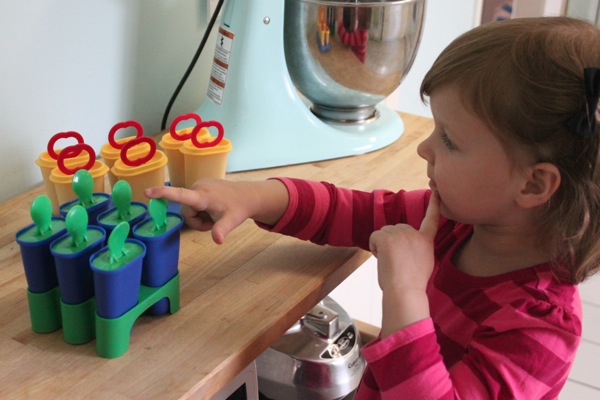 After I fill the moulds, Miss G’s job is to place a ‘stick’ in each one. When she was done, she desperately wanted a popsicle to eat (particularly, “the green and blue one on the riiiiiight”) .
 Luckily, the disappointment that came with me telling her they’d need to sit in the freezer for several hours first was kicked to the curb with the offer of drinking up the leftover mixture, smoothie style.
 Healthy Tropical Fruit Popsicles
 Yesterday, when I told Gracen that we’d be celebrating Papa’s birthday soon, the first thing she said was, “We need to make a cake!” Then she went on about painting him party hats and getting 3 pink gifts, but I digress. Originally, I was thinking about doing two cakes. Something delicious and wildly unhealthy from
  Here’s the lineup of ingredients my little sous chef and I used to make our mini mason jar cheesecakes… Sour cream, cream cheese, lemon zest, pure maple syrup, pure vanilla, almonds, an egg, and coconut. Plus the mini mason jars themselves, of course. 5 of these little jelly jars works perfectly with this recipe.
 To make our crust, we added some coconut, some raw almonds, a little bit of pure maple syrup, and a little bit of pure vanilla into our food processor and blended until it was thick and sticky.
 Then we scooped the crust mixture evenly into our 5 jars, and Miss G used a cork to flatten them out.
 This was the end result.
 With our crusts ready to go, we switched our focus over to the actual cheesecake part. First, we added our room temperature cream cheese and egg into our mixer and beat until smooth.
  Next we added our sour cream, pure maple syrup, pure vanilla, and lemon zest, and mixed again.
 Baking is ridiculously fun, wouldn’t you agree?
 With our cheesecake filling prepared, we poured the mixture evenly into our 5 mason jars.
 Then we placed them into a high-walled baking dish, filled it halfway up the jars with hot water, and baked the entire thing.
 When they’d finished baking, I topped the ones for Gracen and I with stewed blueberries…
 And the birthday boy’s with deliciously naughty Nutella. Of course the options are endless really… Fresh berries, shredded coconut, sliced bananas, or mini dark chocolate chips would all make yummy toppings too.


 Our
Our  While I had grand plans of creating a little hallow in the centres of the eggs and placing a couple of small treats in the middles, we ended up just making solid eggs. To do so, all we did was fill up each side of the egg generously with warm crispy rice treat mix, packed them down a little, and shut the eggs while they were still warm.
 We let them cool and ended up with perfectly formed eggs that pop out of the shells effortlessly and make great on-the-go treats (the plastic eggs double as containers until you’re ready to eat them) . They were also a lovely addition to Gracen’s


 After eight hours, we had a lovely sheet of fruit leather.


 One of the few ready-made packaged foods I buy now and then is organic all-fruit fruit leather strips. They’re a very special treat for Miss G and I don’t feel horrible about letting her have one once and a while (as long as her teeth are brushed extra well that day), but I’ve always known that I should probably be making them at home instead. Recently, our local grocery store stopped restocking their organic fruit leather supply (I think they’re getting rid of the current stock and then no longer carrying them) and they were down to just two lonely strips on our last visit. It was the perfect push I needed to try making my own.
  Today I asked Gracen if she’d like to try making some fruit leather of our own, and she responded enthusiastically with, “Sure! Purple ones.” so I decided we’d try a berry variety first. Since we don’t really buy many berries when they’re out of season, we went with what we had in the freezer – strawberries, raspberries, and wild blueberries. Plus an apple and half a lemon for texture and a little kick.
 As we were prepping the fruit, which really only consists of peeling and coring the apple, we decided to add a banana in the mix for sweetness.
 With all of the ingredients ready to go, Gracen popped them into a large pot…
 Then squeezed the lemon on top…
 And added a little bit of water.
 Then we popped the mixture on the stove to stew over medium heat for a while.
 About a half hour later, this is what we had.
 We let it cool for a little bit and then dumped it in the food processor to puree for a bit.
 With our mixture nice and smooth, we lined a baking sheet with parchment paper…
 And poured our berry mixture on top.
 Using a spatula, we spread the mixture out to cover the entire base of the pan (on our next attempt, I’d spend a little more time getting it as evenly as possible) and put the pan in the oven on the lowest temperature.
 Eight and a half hours later (yes – it takes a long time!) this is what we had.
 We carefully peeled off the parchment paper…
 And then I used kitchen scissors to cut it into strips.
 A little parchment paper and baking twine later, we had our own homemade {and healthy!} version of a Fruit Roll-Up. ☺


 Gather the ingredients.
  Place the pecans on a baking sheet and pop them into the oven to toast for about 10 minutes.
 In the meantime, put some of the oats into a blender or food processor and turn them into oat flour.
 Pour the oat flour into a large mixing bowl.
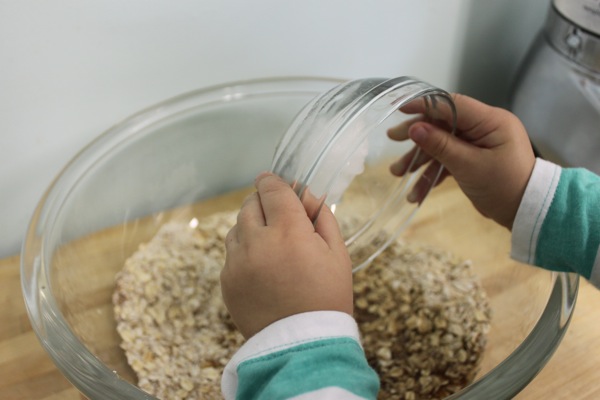
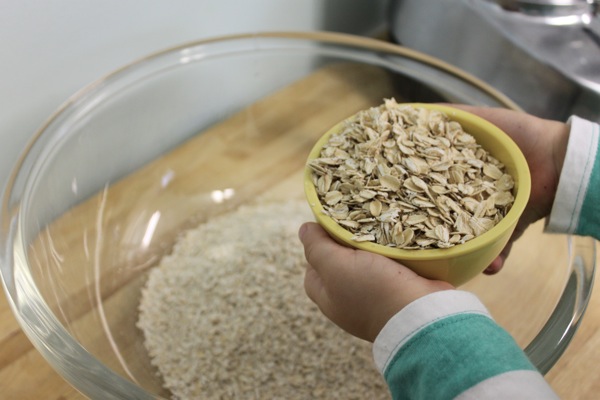 Add your regular old-fashioned oats.
 Then the ground flax and hemp hearts…
 Plus the salt, baking soda, and cinnamon.
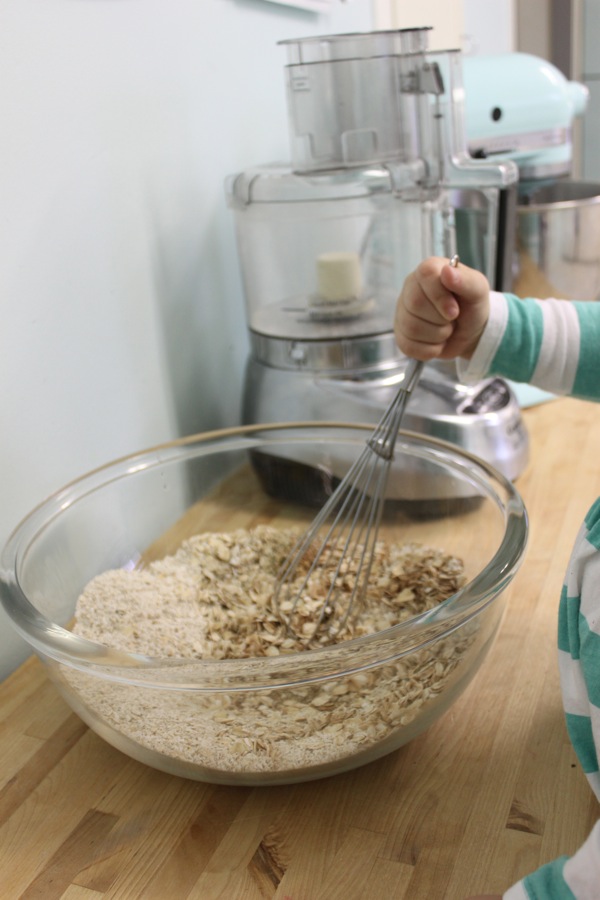 Give all of the dry ingredients a good stir.
 Next, pour in the pure maple syrup.
 Coax the coconut oil into coming out of its bowl…
 Add the honey…
 And vanilla.
 Stir the sticky mixture well.
 At this point, it’ll be crumbly and sticky all at once and you’ll wonder how on earth it’ll ever become cookies. Don’t fret.
 By now, your roasting pecans will smell lovely and will be ready to come out of the oven.
 Allow them to cool a moment and pop them into a blender or food processor, pulsing them just a handful of times to create small bits.
 Then add them to your cookie mixture.
 Next up, the add-ins. Dump in your raisins…
 Plus the sunflower seeds and almond slices…
 And stir everything up really well.
 Now for the tricky part… With a bowl of warm water nearby, wet you hands, scoop out a heaping tablespoon of cookie dough, and shape into a ball, pressing firmly. Repeat for the remainder of the dough, rewetting your hands every couple of cookies.
  And take them out approximately 10 – 13 minutes later, when the outsides are golden and crispy, but the centre is still very soft to the touch. Let the cookies cool completely before removing from the pan.
 Serve with a glass of cold milk, or if you prefer ‘the Gracen special’, with a small bowl of plain yogurt (she plops the cookie in, then smashes it into the yogurt with her spoon – I think they remind her of granola ☺).