
If you follow along over on social media, you know I’ve been lucky enough to work with Toyota Pacific for the last several years – quite possibly my favourite partnership of all time – and they’ve generously sponsored this post. We have a fantastic giveaway happening right now, so be sure to enter – trust me, it’s a great one!!
Summertime is here and the question I get again and again this time of year is, “’We’re visiting the Vancouver area… What should we do while we’re there?”
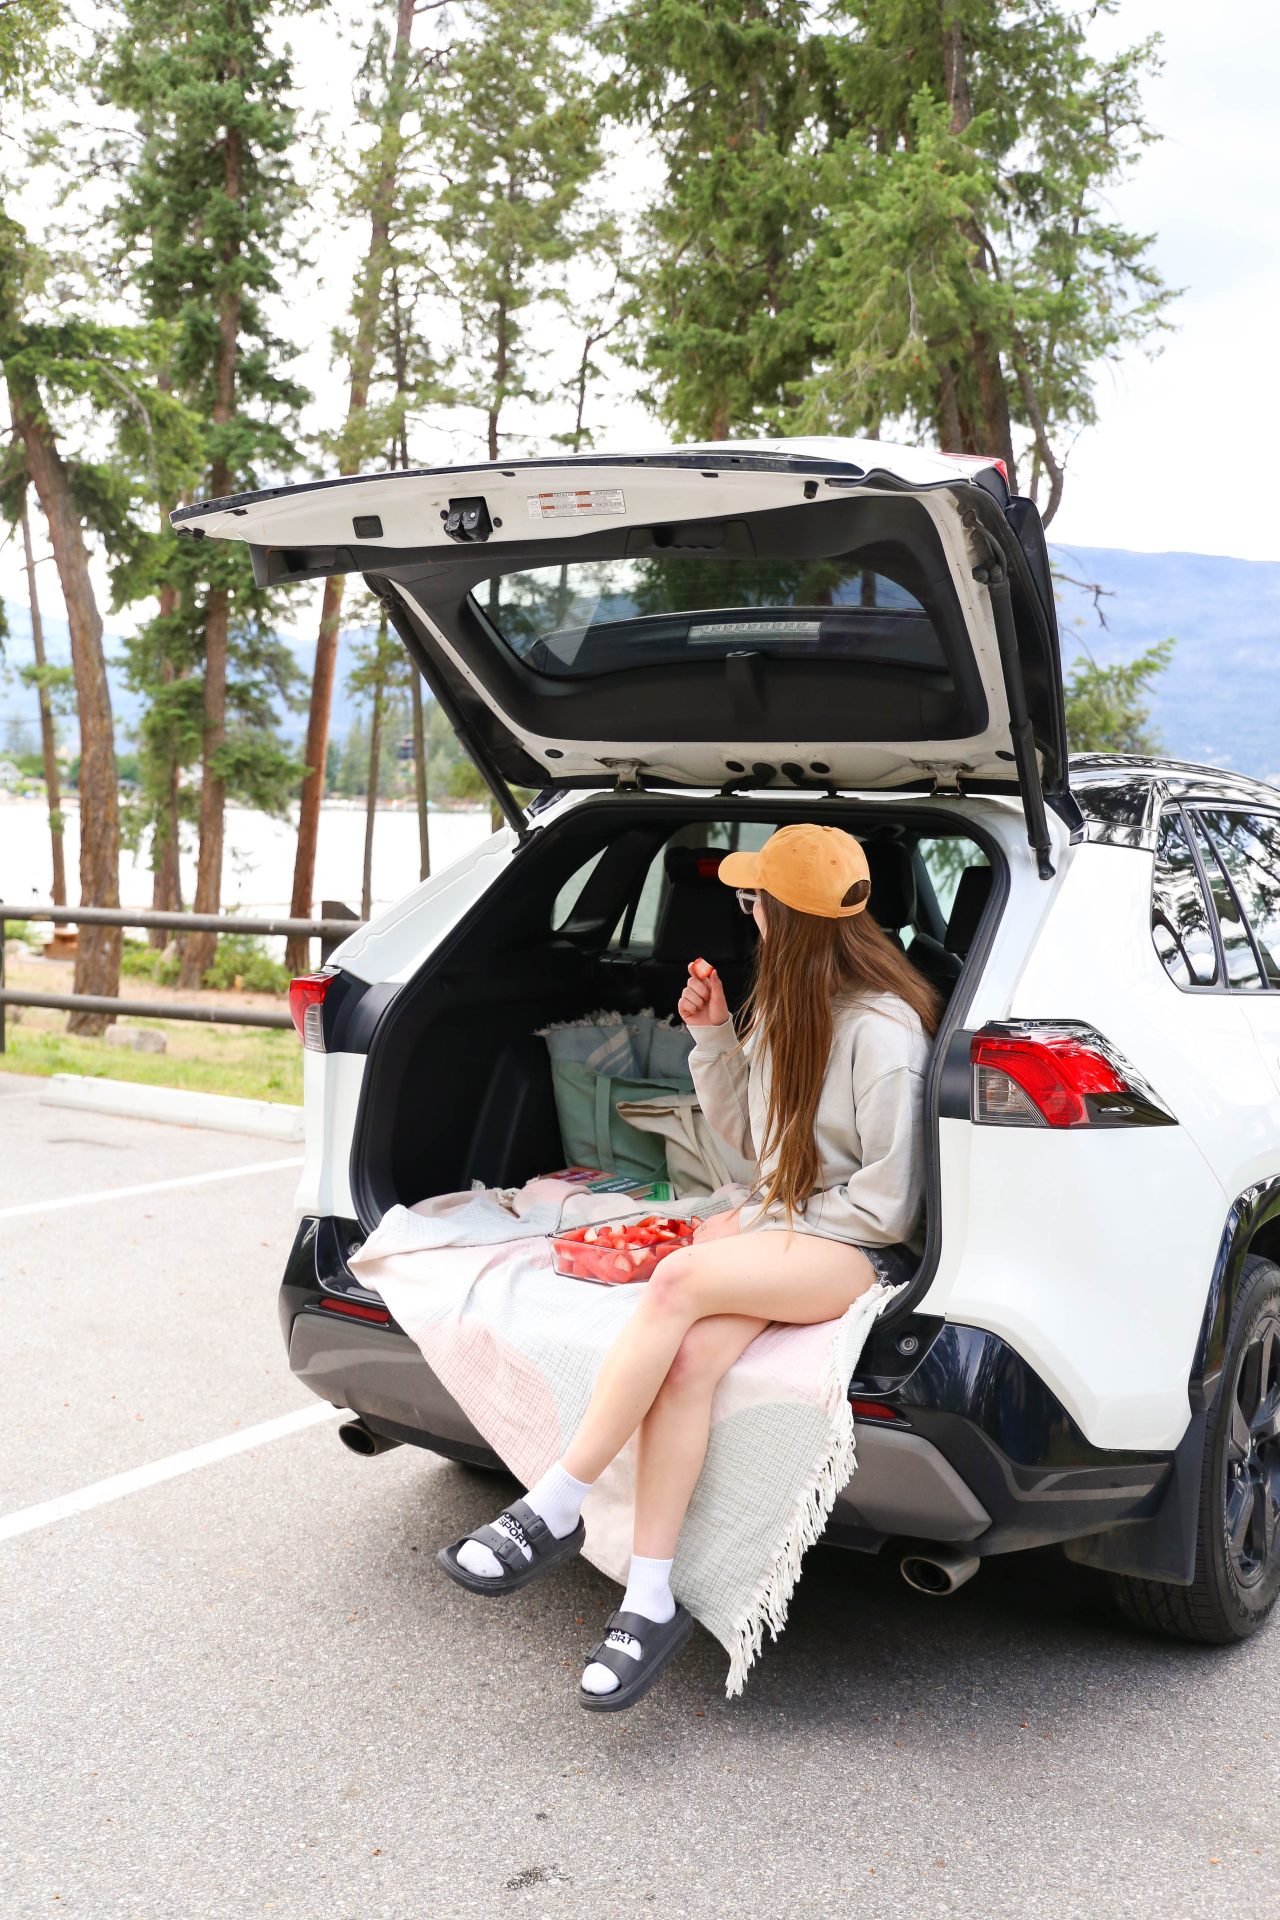
If you know me well, you know that Vancouver is one of my very favourite cities and because of this, we spend time on the coast as often as we can. Thankfully, my RAV4 Hybrid makes the drive so safe, comfortable, and affordable that we don’t think twice about packing up and heading to the coast. This summer will be my SEVENTH summer with my RAV4, and I love it just as much now as I did when we first got it. (So much so, in fact, that we’re considering adding a second one to the family!) It goes without saying that we’ll be down on the coast more than once this summer, and if you will be too, I’ve put together a list of all of my absolute MUST VISIT places while in Vancouver… These are places we visit again and again and look forward to each time we’re in the city. Of course there are loads of other things too, but these are our Vancouver staples.
Now, if you’re also headed out on a family adventure this summer, be sure to enter our Family Road Trip Contest in partnership with Toyota Pacific for a chance to win a prize pack worth $1500 CAD, packed with family fun including 4 full-day adventure park passes to the nearby Cultus Lake Adventure Park, a $250 gift card for the nearby WildPlay Elements Parks, and a $1,000 gift card to get you on the road!
I could go on and on about all of the places we love around the city, but without further ado, these are our absolute MUST VISIT places around Vancouver:
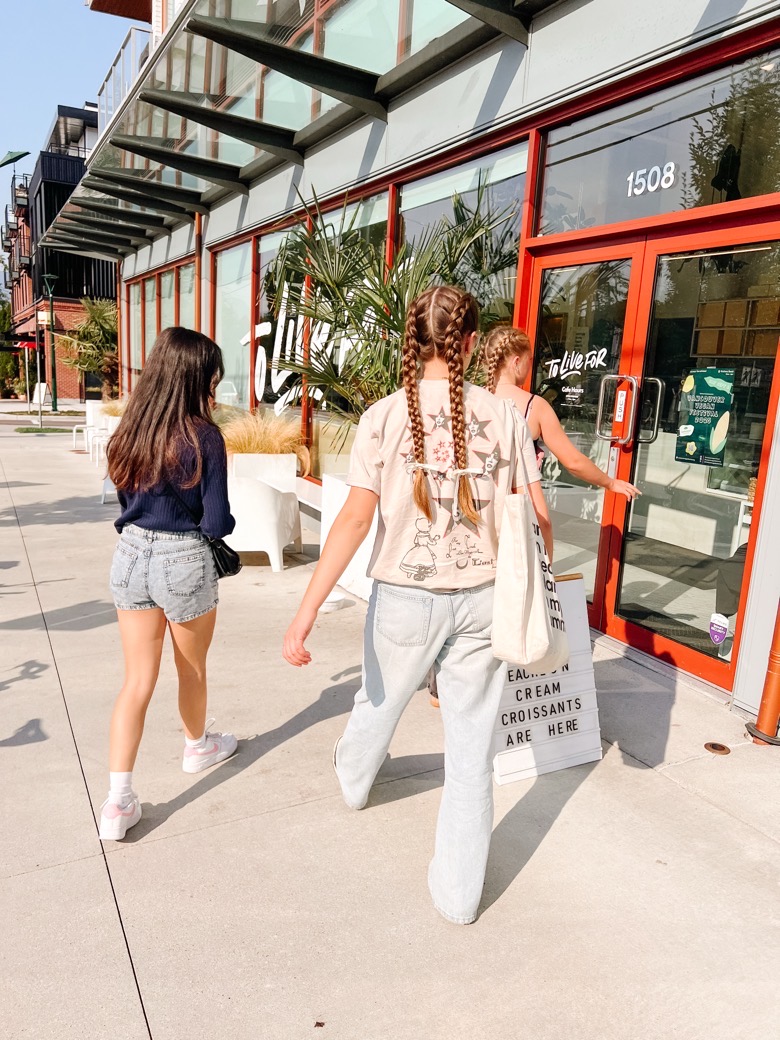
To Live For Bakery – This is usually the first place we go when we arrive to the city and the last place we visit before leaving. The cafe is beautiful with seating both indoors and out, they make the most delicious vegan baked goods, sandwiches, cakes, and treats, their coffees and drinks are perfection, and the owner, Erin, is an absolute gem. Vegan or not, you must visit. On the way out of the city, we usually fill a big box of goodies to take home with us!
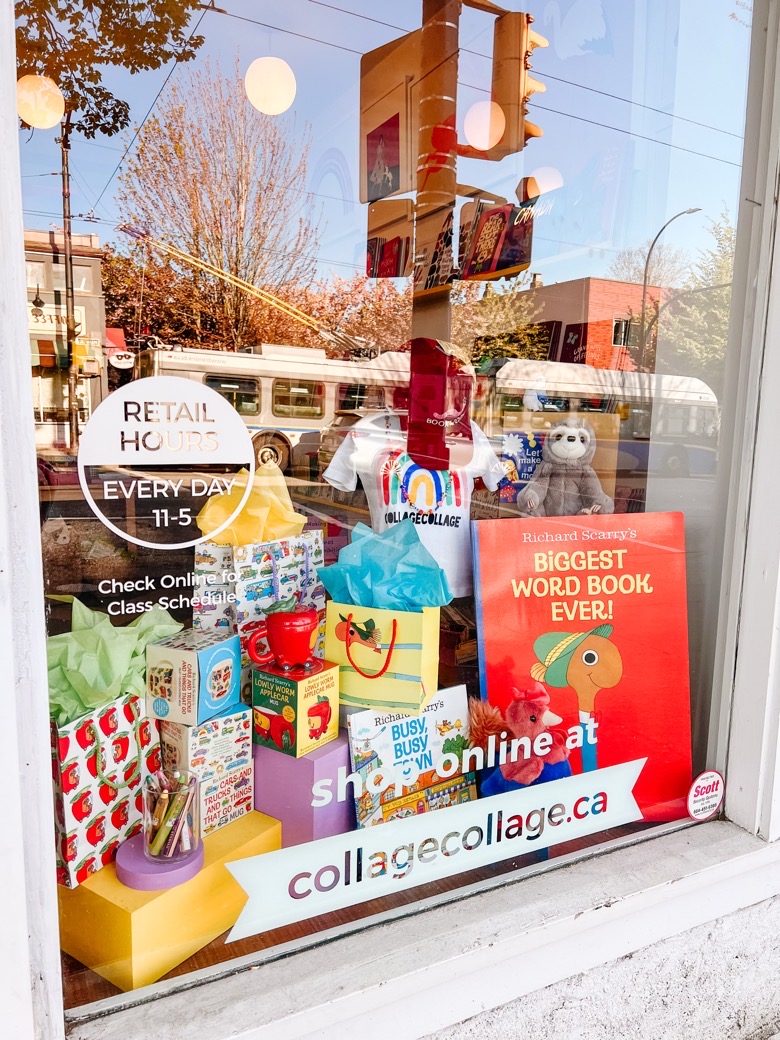
Collage Collage – Forever and always my favourite Vancouver spot. Part workshop, part shop, Collage Collage is brimming with gorgeous craft kits and art supplies, the most thoughtfully curated collection of books for all ages, and the loveliest gifts and party things for kids. We’ve been big fans since Grae was only a couple of years old have have done it all – their drop-in creative projects, their camps, their virtual art classes, and pretty much anything else they’ve offered. We also own almost every single book Erin B., the shop owner has recommended, because when Erin recommends a book, you add it to your personal collection.
Bonus Bakery – My good golly. If you love donuts like we love donuts, you MUST go on the adventure that is visiting Bonus Bakery!! They’re tucked away in an industrial-ish part of the city, their bright yellow awning perfectly coordinated with the bright yellow building and the sea of bright yellow taxis in the parking lot, so you can’t miss them! Get the vanilla dip and anything else that looks delicious. You won’t regret it.
The Salvation Army Thrift Store on 41st Avenue – One of our very favourite thrift spots in the city. It’s a true thrift – not a curated collection, but in this part of the city people donated all kinds of great stuff. In particular, check the housewares, books, and shoes. Like any thrift store, some days are better than others, but we never leave empty handed!
Urban Source – My gosh… We love this alternative art supply shop! In fact, we love it SO MUCH, that for a good long while, I had to put our visits on pause because we were absolutely drowning in art supplies. Their specialty? Collecting, sorting, and curating discards, giving them new life, and offering them to creatives at affordable prices! Basically the store is filled with bins and bins and bins of interesting materials – think colourful acrylic pages, wall paper chunks, old slides, fabric scraps, x-rays, and sticky paper… You grab a bag, fill it up with all of the goodies you need for your next creative project, and pay a flat fee! They do have some restrictions on how much you can take of each item, but in our experience it’s always more than enough and there’s always something in store that sparks a new idea!
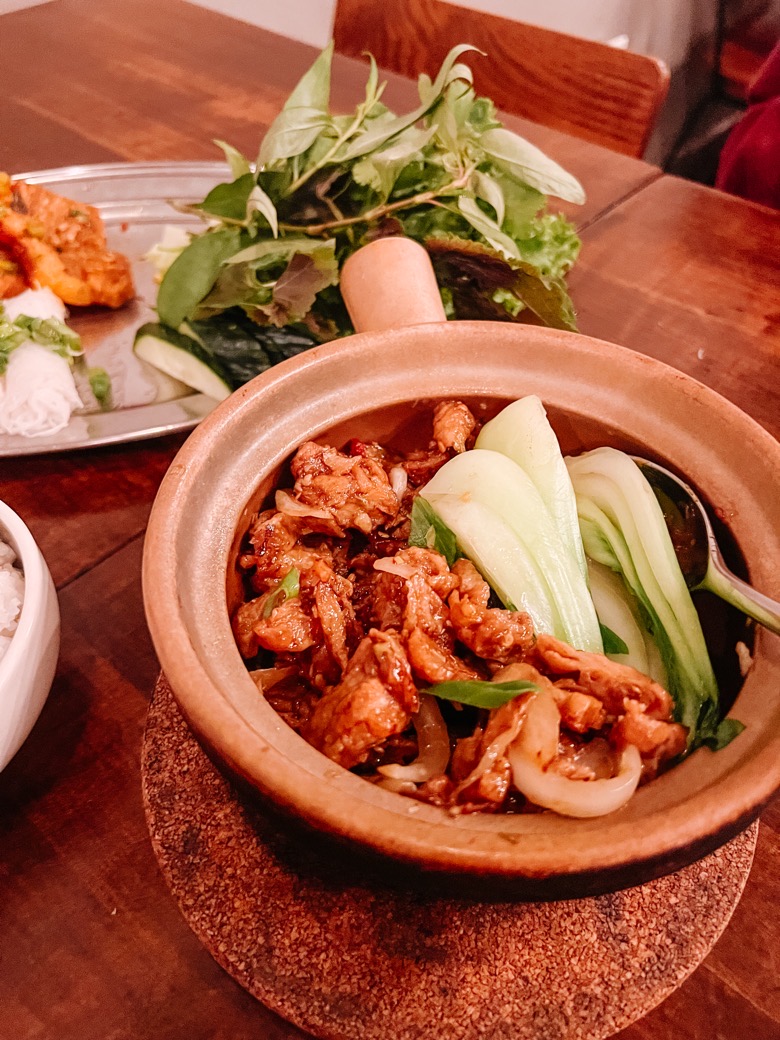
Viet Family – If I can only eat at one restaurant during a visit. To Vancouver, you can bet that it’s going to be Viet Fam. Get the Viet Salad and the Bok Choy Garlic to start, then get the Bánh Hỏi Heo Quay and the Lemongrass Chick’n as your mains – trust me. Also excellent – the Beef Phở and the Curry Soup. Truthfully you can’t go wrong. The people who run the restaurant are beyond lovely and of course everything is vegan!
Main Nail Studio – We left the coast 9 years ago, and to this day I go to this little hole in the wall nail studio whenever I have the chance. It’s not fancy by any means, but the ladies who work there are incredible, the services are excellent, fast, and affordable, and most often you can just walk in off the street without an appointment. On top of that, they can often do a manicure and pedicure at the SAME TIME, so in about 45 minutes you’re on your way with brand new hands and feet for less than a hundred bucks!
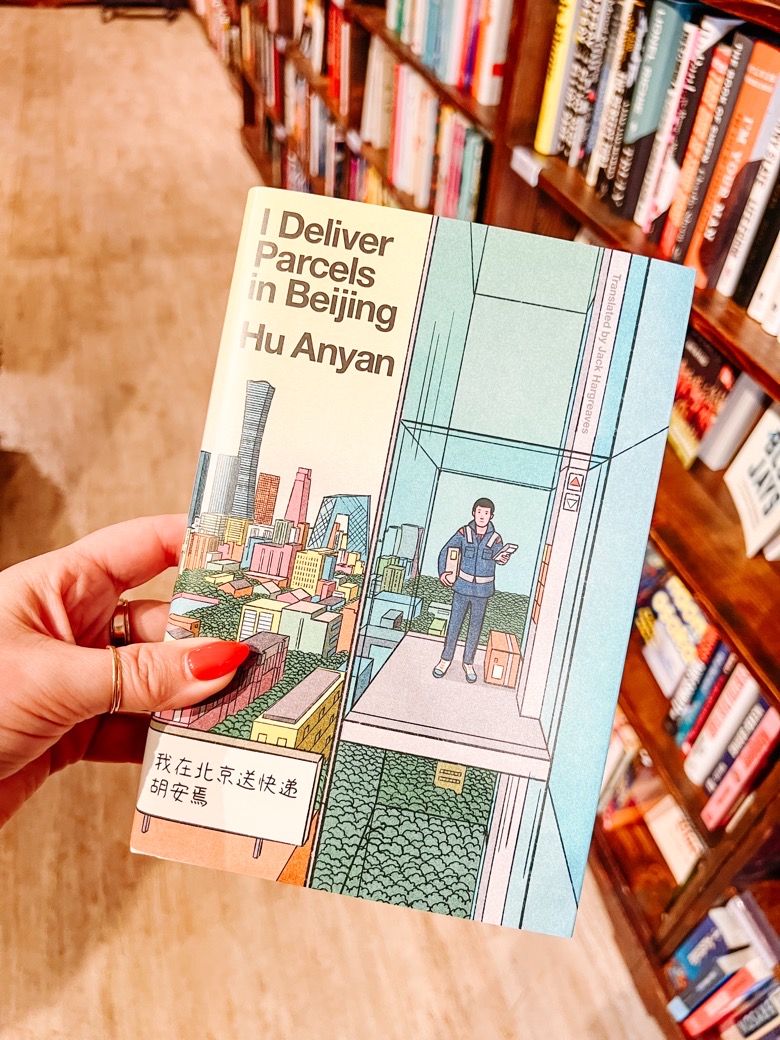
Iron Dog Books – Vancouver’s got a lot of great book stores, but this one is at the top of our list! The shop is cozy, organized, and brimming with excellent books, many of which are focused on social justice, politics, activism, and equality, which we love. They have an excellent kids’ section, the BESST selection of Indigenous authored books, and a section full of discounted books too! Plus the shop is independently and Indigenous owned!
The Regional Assembly of Text – If you love paper, notebooks, cards, beautiful pens, and high-quality markers, you will LOVE this shop. It’s filled with beautiful paper goods, many of which they produce themselves and everything is beautifully arranged in the most satisfying stacks and displays. On top of beautiful paper goods, they have a make-your-own-button station and typewriters that you can use during your visit! Perhaps my very favourite store feature is The Lowercase Reading Room – a storage closet turned reading room, complete with a little seating area, bursting with zines and little self-published books.
Central Library – If you’ve ever been downtown Vancouver, you know how beautiful the Central Library is… It’s colosseum-inspired and absolutely STUNNING. The library is massive, with little shops in Library Square on the entrance level (coffee included) and a sprawling rooftop patio on top. There’s also a vast children’s section in the basement with spaces for play, crafting, and of course reading. Best of all, if your home library participates in the BC OneCard Program like ours does, you can borrow books from Vancouver Public Libraries, return them to your home library, and they will be sent back down to Vancouver like it’s no big deal. Wild, right?
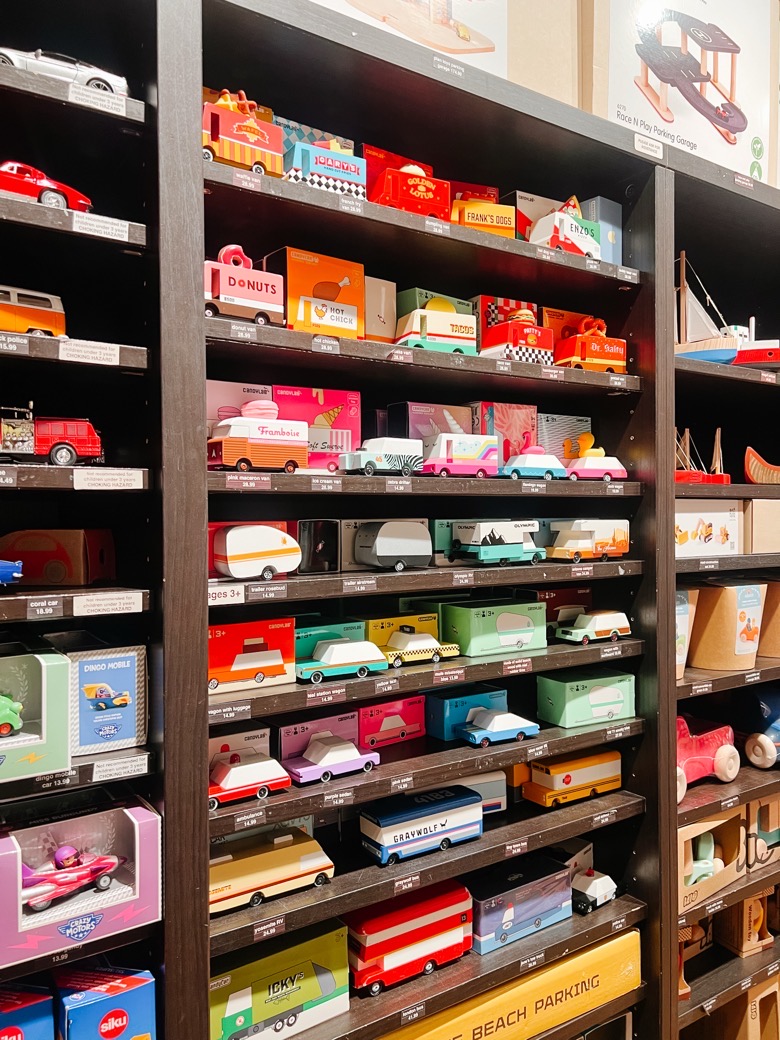
Dilly Dally Toys & Delights – Our absolute favourite toy store in Vancouver. This shop has been a staple for us since Sam was born and is home to all of our very favourite toys – from Maileg to Connetix Tiles to Holztiger, Candylab, and Grimm’s. If you ever need a beautiful gift for a baby or child, or if your little ones have some pocket money to spend, this is the place! They also have a fantastic selection of books and animal figures are sort of their thing. We love this shop and even though my kids are much older now, we visit on most Vancouver trips.
Granville Island – okay, so this is really an entire area, but we love it so much. While you’re there, be sure grab some delicious fruit from the market, a coffee from JJ Bean, and maybe even a gelato from one of shops in the food court…. Then walk along the boardwalk past the floating houses, around to the playground and splash pad, take the kids to the Kids Market (and up to the arcade if you’re up for it – it’s my kids’ fave). Later, stop by Paper-Ya, a stunning stationary store, visit Nooroongji Books, one of the best, highly curated book shops, and Beadworks – a beading supply store where you can also sit and make your own custom bracelet or necklace!
sθәqәlxenәm ts’exwts’áxwi7 – Sometime also referred to as “rainbow park”, this stunning downtown park is a must. With a cafe, plaza, loads of lush greenery, and the coolest playground consisting of several towers, slides, climbing ropes, and trampolines – all surrounded by the city skyline, sθәqәlxenәm ts’exwts’áxwi7 is the thing my mama dreams are made of.
What would you add to the list? I’d love to hear!!
If you’re in the market for a new family-friendly, affordable-to-drive vehicle to drive around the city or on road trip adventures, I can’t recommend the RAV4 Hybrid enough! And if you’re going to be in the Lower Mainland this summer, don’t forget to enter our Family Road Trip Contest in partnership with Toyota Pacific!!! Click here to enter. Contest closes 5:00 p.m. PDT on July 31, 2026 and is open to all residents of British Columbia and/or the Yukon of age of majority. Good luck, friends!! ❤️
Are you following us on social media?
Find us on: Facebook | Instagram | Pinterest
We’d love for you to join us!


 And enjoying hot cocoa afterwards of course!


.jpg")