Gracen and I had so much fun with this little project today. It’s been flying around the web like crazy recently, (like here and here and here and here) so when we came across plain white bowls for $1 each the other day, I knew we’d be giving it a shot very soon.
 All you need is some plain dinnerware, a Sharpie or two, and in our case, some tape, and a pair of scissors.
 Because we chose to decorate bowls, I wanted to tape off the inside of the bowl, where the food goes. Some may say that the Sharpie is sealed in by the end of the process, but something just doesn’t seem right about putting Grae’s food on top of permanent marker. Plus, I think having just the rim decorated looks cute. Painter’s tape would have been the obvious choice here, but since I didn’t have any lying around, we made do with packaging tape and it worked just fine.

 Grae got started drawing right away. I explained that we weren’t drawing in the middle of the bowl and that we were just decorating around the edge, and that’s exactly what she did (therefore the tape was pretty much unnecessary, but hey, you never know).
 When I asked Gracen what I should draw on my dish, her immediate response was, “Apple!” I ran with that idea, and since she’s been so interested in colours for the past couple of months, I got started on a little colours of the rainbow theme of sorts.


 Gracen drew and drew and drew and never did I have to encourage her to keep going, choose a new colour, or fill in a blank space. She was having so much fun and was so thrilled about the fact that she was using Mama’s ‘special’ markers that she had more than enough motivation for over an hour’s worth of drawing.
 Of course, in that hour, she stopped to come over and admire my dish several times. She’d look with big eyes, then nod her head with a slow, enthusiastic “Yaaaaaaa…” and a sweet little smile on her face, in obvious approval. Then she’d go on to point out the colours and pictures she saw {and shared those she wanted to see in the very near future – my apple, tree, birdie, and banana were all ideas she offered}.

 The finishing touch was to happily sprinkle her entire rim with dots of different colours. She’d stop a moment, glance at it sideways, then pick up another Sharpie and add more. This continued again and again until one time she took that same sideways glance, then very nonchalantly announced “All done”. And that was that.
 Before we could get it in the house to cure in the oven, she wanted to put her new dish to use, so she carefully browsed through the garden for a handful of ripe strawberries and a sprig of mint.
 With her snack gone in less than a minute (yes, she shoved that entire thing of mint in her mouth and chowed down on it like the rabbits at Maplewood Farm), it was time to show off our finished products.

 One final touch to add – our names, the year, and for Grae, her bright green signature.
 And then into the oven they went. In attempt to “bake the marker on better”, I amped up the heat to 400 and left the dishes in for 45 minutes, despite the general recommendation of baking them at 300 degrees for 30 minutes. Bad idea. Although Miss G’s came out fine, my lighter colours really, really faded, some to the point of becoming nearly invisible. Learn from my mistake. The good news is that there’s an easy fix for mistakes such as mine. Just simply redraw your design and then pop it back in the oven for another 30 minutes at 300.
 We let our bowls cool, gave them a good {hand} wash, and used them for dinner. I did try washing them (okay, maybe I even scrubbed a little bit), and so far, so good. The designs still look exactly as they did, and I’m hoping they stay that way for a while at least.
This was such a fun, easy, and inexpensive project and I’d highly recommend giving it a try. While Gracen (almost 23 months old) loved it, I think older kids would like it just as much. On top of it all, wouldn’t a hand decorated mug or dish make a great gift for a grandparent, aunt, uncle, or parent? (I must keep that in mind!)
If you do try this project, here are a few tips I learned along the way:
- Plain dinnerware pieces can be found at thrift stores, dollar stores, and places like IKEA for next to nothing.
- Before starting your drawing, wash and dry your piece very well to get rid of any oil that may cause your marker to stay put as well as it should.
- Darker, vibrant colours turn out better. Yellows and pastels seem to fade and distort.
- Do not attempt to bake on your design better by increasing the heat. This will just lead to a mess.
- Gently hand wash your items. Do not put them in the dishwasher.
- If needed, touch up your design and re-bake.
♥

 It was a breeze to set up. We gathered up a few materials we had around the house – a bowl, magnets, scissors, embroidery floss (any string would do), a large paperclip, and a piece of drift wood from Gracen’s
  These alphabet magnets, made by Gracen’s
  WIth our fishing rod built and our pond freshly-stocked with fish, we were ready to go.
 Caught one!
 After she’d fished standing up for a while, she decided to try fishing while sitting down. Looping the line around the rod a couple of times made this a much more manageable task.
 Caught another.
 Gracen thought this activity was a lot of fun. As she pulled the magnets out of the pond, she’d remove them from the paperclip, announce their colour (older kids could do colours and letters), and add them to her caught pile (often giving herself an enthusiastic clap afterwards). She enjoyed it so much, in fact, that she insisted that it stay in her room until her Papa returned home from work so she could show him. And that’s exactly what she did.


 With the help of a blanket, a flat sheet, a handful of clothespins, and a few strips of duct tape (because what isn’t duct tape good for, really?), we whipped up a little bedroom fort, fit for a queen.


 Once we had it set up, we collected a few things from around the house to ‘furnish’ it with… Throw cushions, a tea set, mini books, the Hello Kitty family, and some drawing goodies all found a home in Grae’s fort.

 We played together for a little while, and then I got busy cleaning while Grae enjoyed her new space. While it wasn’t the perfect solution, it certainly helped. I got what I needed to get done done, she had a fun morning despite the fact that Mama was a little less present than usual, and we had a great afternoon visit with our guests.
 Such fun. The colours, shapes, sizes, and zipping kept her happily busy for a good portion of the morning while I slowly worked on unpacking things.
 Later in the day, as I began gathering dinner ingredients, she came across a couple of clean ice cube trays waiting to be filled and frozen on the counter. I’m not sure what inspired her, but she quickly left the kitchen and returned with her bowl of buttons and the creamer cup from her tea set. Brilliant. I don’t think I could have come up with a better ice cube tray activity on the spot if I tried. I retrieved a blanket, she spread her things out, and happily played until dinner was ready.

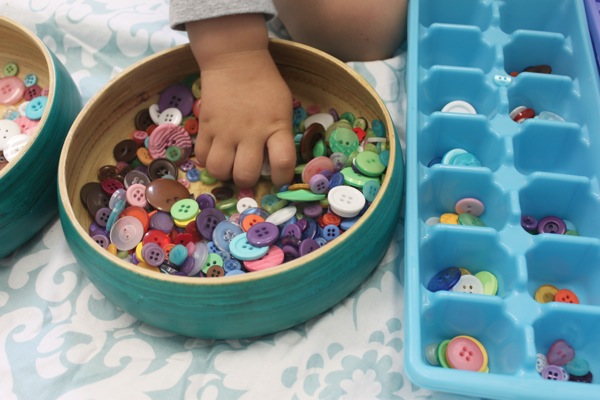


 I may be discovering new runaway buttons around the house for the next week or two, but having an hour to cook and wash dishes while my girl happily plays independently is well worth the pick up.


 Gracen had an absolute blast and I had what was one of my most peaceful cups of coffee I’ve had since Gracen arrived in this world 21 months ago. Here’s to another rainy day escape being added to our repertoire.


 About time for a hairdo of some sort, I’d say. So while Gracen napped, I set up a little play invitation for her. I gathered up some hair goodies, a couple of elastics, and an old hairbrush and set them all out on her table along with her grasshead.
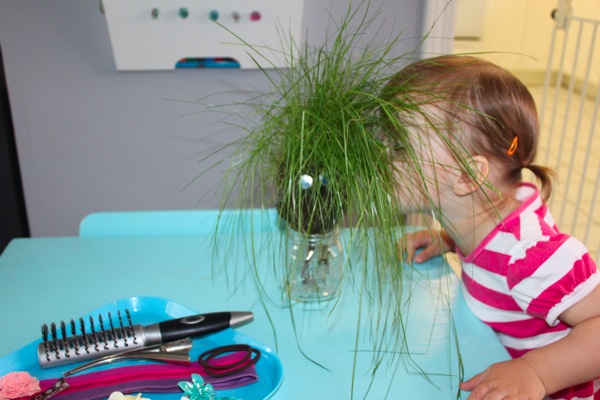
 She wasted no time getting started. She climbed up on the chair, and got busy trying to put the clips in. It wasn’t easy, but with a little bit of help, she put every single clip in the grasshead’s hair.
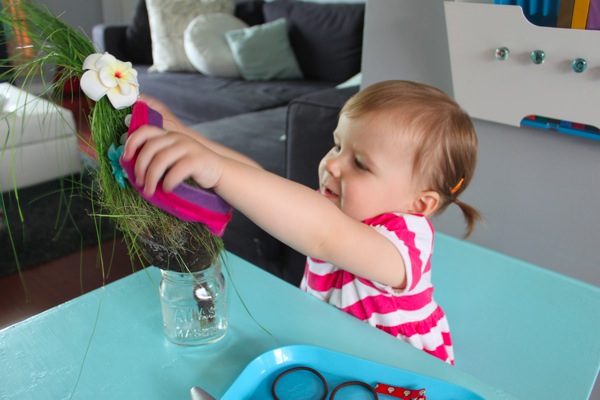
 That is, until she decided she’d wear it instead!
 Afterwards, I helped her make little grass pigtails. She thought it was completely hilarious and kept stroking her own pigtails and then pointing to those belonging to the grasshead.


 And then it was off to try some new things… See that little monkey climbing up that inflatable ladder?


 A playground stop was in order afterwards. Shhhhh… Don’t tell Mama Gracen’s hiding.
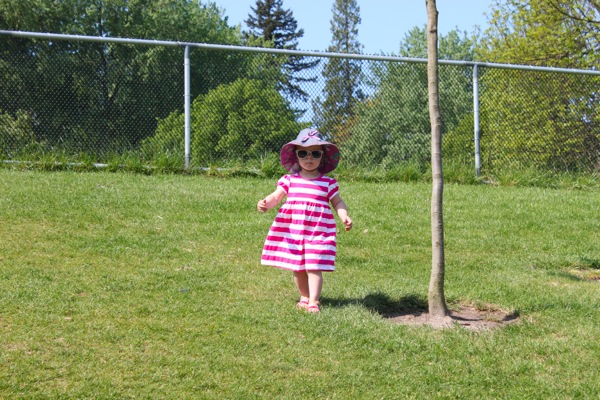 Strolling in the sunshine.
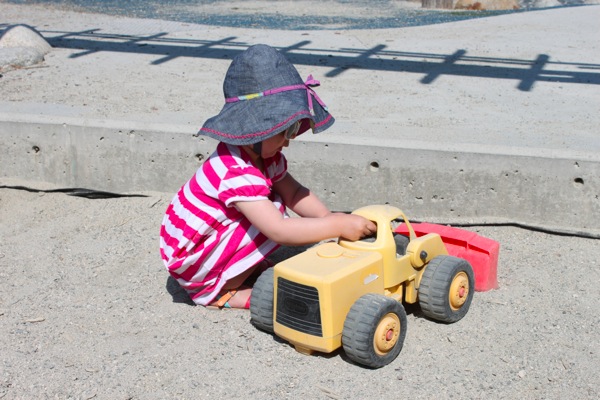 In the words of Grae, “dig-a-dig-a-dig-ah”.
 Backyard antics.
 A quiet moment in the shade of our plum tree.
 Tricycle tricks.
 Sandbox play with the little girl from downstairs.
 Itty bitty bookworm.
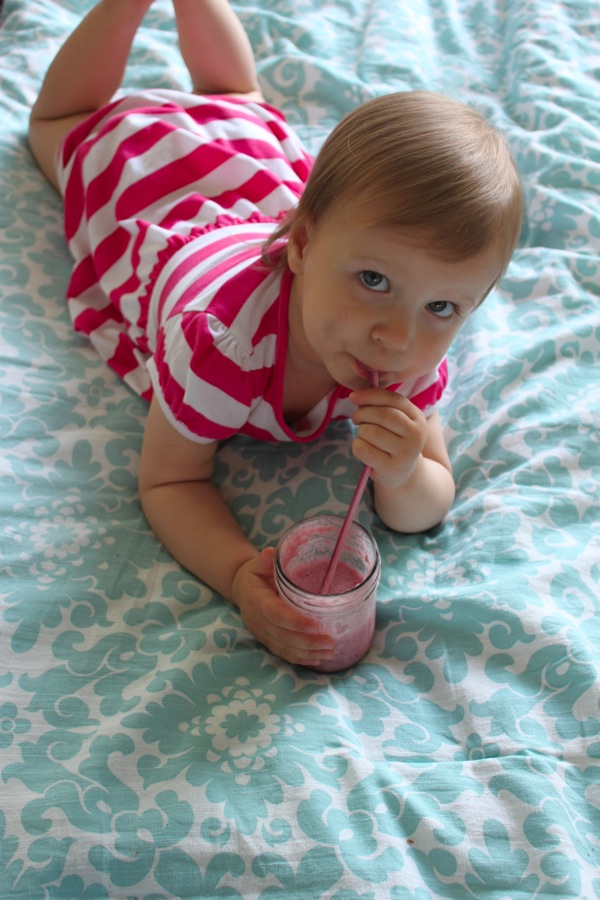 An afternoon treat – frothy raspberry milk.
 Just like Mama. (Grae loves this ring I had custom made in Kuwait. It says ‘Brad and Jen’ in Arabic, so I love that she loves it.)
 A
A  Double-fisting. (Of course Mama’s desert looked just as yummy as her own.)
 Oops. That’s not the popsicle hand.
 Freshly bathed and ready for bedtime stories.


